
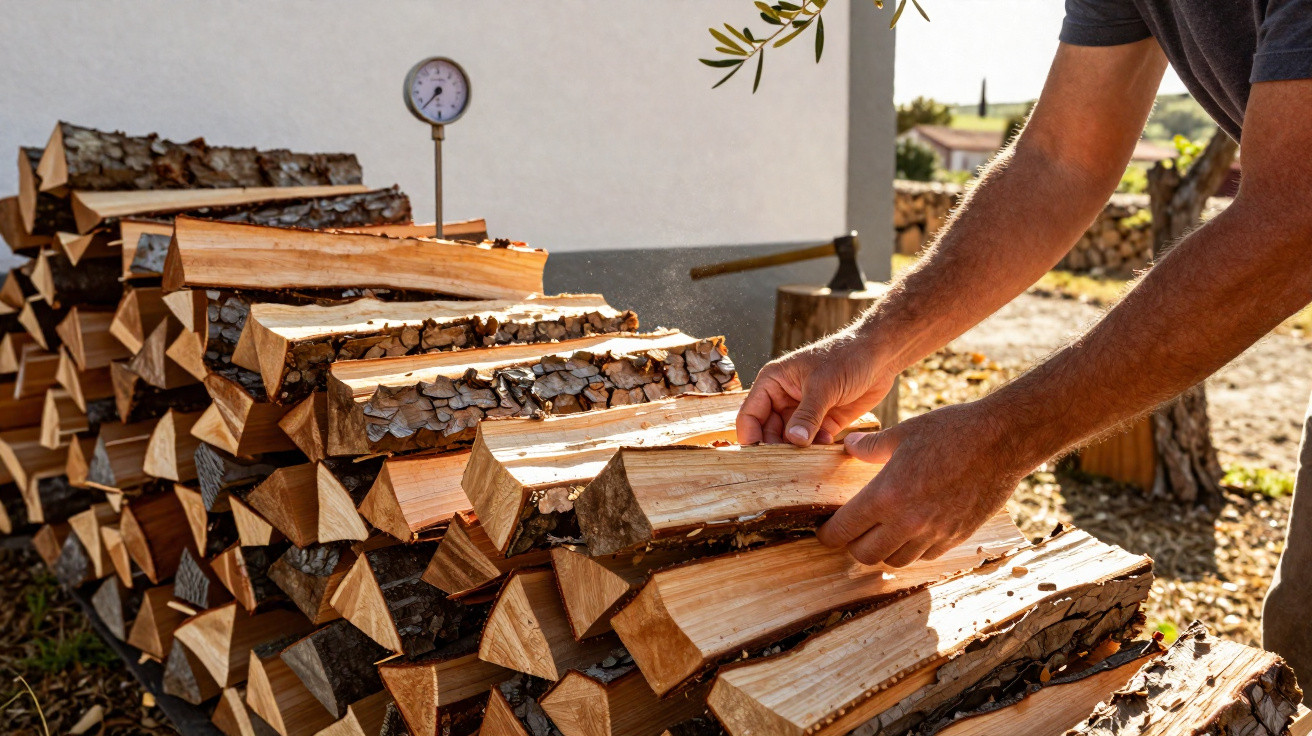
Many households simply stack their firewood, light the stove and think the job is done. However, changing how logs are split and dried can nearly double the useful heat available, reduce smoke and potentially lessen the chance of chimney fires.
Why most log piles are quietly wasting energy
Wood heating at home has become more popular as gas and electricity costs fluctuate, and many first-time stove owners assume logs are ready when they merely “look dry”. In reality, the moisture locked within a log has a major effect on how well it burns.
Newly felled timber commonly contains 40–60% moisture by weight. Before it can warm your living room, much of the fire’s energy must first be used to turn that water into steam.
Drying wood down to around 15–20% moisture can almost double the amount of useful heat released from the same log.
Burning wet logs means using more fuel to achieve the same indoor temperature. The fire burns at a lower temperature, soot accumulates more rapidly and emissions increase. This is why energy agencies throughout Europe consistently offer the same advice: the “hidden fuel” in a stove is not only the timber, but also how it is dried and stored.
The log-drying technique that makes the difference: intensive preparation and seasoning
A method attracting attention on French wood-burning forums does not require a gadget or costly modification. Instead, it involves a more rigorous routine for splitting, stacking and ventilating logs, helping them dry much more quickly and burn with considerably more heat.
1. Split promptly and use smaller pieces
The opening step may seem obvious, but its impact is substantial: split timber as soon as you can after it is felled or delivered, and make the pieces a little smaller than usual.
Creating more surface area exposes additional fibres, giving moisture more routes to escape. Rather than putting thick rounds straight onto the stack, regular users of this method generally cut logs to 30–40 cm long, then split them into halves or quarters.
Many homeowners report that since they started splitting each delivery immediately, they’ve seen brighter flames, less smoke and a noticeable jump in heat.
More compact, narrower logs do not only dry sooner over summer. In winter, they also catch fire faster, bringing the stove to its most effective operating temperature within minutes instead of taking half an hour.
2. Prioritise airflow over appearance when stacking
Many people create neat, tightly packed log piles that look impressive on Instagram. For drying purposes, though, this is counterproductive. This approach instead relies on spaces, air channels and a slightly less orderly arrangement that encourages ventilation.
- Lift the stack at least 10–15 cm above the ground with pallets or spare logs.
- Place one layer north–south and the following layer east–west to form criss-cross air channels.
- Keep roughly a hand’s width between rows, allowing wind to travel through them.
The principle is straightforward: each log should benefit from a “wind tunnel” effect. In gentle, breezy weather, timber stored this way may shed moisture at nearly twice the speed of a tightly packed, ground-level stack placed against a wall.
3. Treat sunshine and wind as free drying equipment
Experienced wood burners in rural France often refer to locating “the hot corner” of the garden. Usually, this means a south- or west-facing position that gets sun and is exposed to the prevailing wind.
Using such a site for log stacks, rather than keeping them beneath a completely enclosed carport, can remove months from the drying period. The essential point is to protect the top of the pile from direct rainfall while keeping its sides entirely open.
A simple rule: cover above, breathe on the sides. A tarp draped to the ground turns your woodpile into a slow mould incubator.
In many homes, this means installing a rigid panel or basic roof above the stack and drawing back any plastic covering on dry days to maximise ventilation.
How to know whether logs are genuinely “ready”
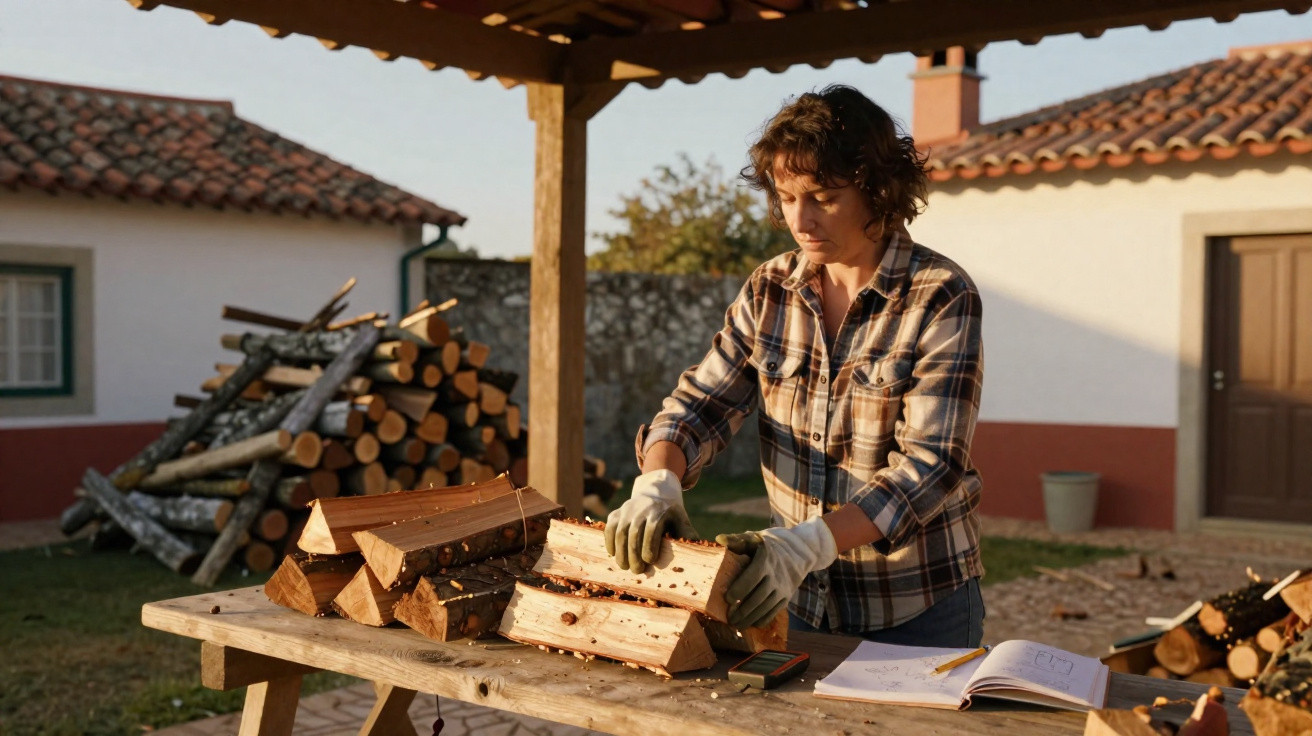
Relying on appearance alone to assess dryness is unreliable. A log can look weathered and grey outside while its centre remains full of sap. Professionals increasingly advise combining several quick tests.
| Check | What you want to see or hear |
|---|---|
| Appearance | Greyish surface, small radial cracks at the ends |
| Weight | Feels surprisingly light for its size |
| Sound | Two logs struck together ring with a clear, sharp “clack” |
| Smell | Almost no resin smell; faint, dry, woody scent |
| Moisture meter | Reading under about 20% in the middle of a freshly split face |
In France, many stove installers now demonstrate to customers how to use an inexpensive handheld moisture meter. When inserted into a newly split surface, it can quickly show whether timber is ready to burn now or needs another season of drying.
The two-year rule – and how some users safely shorten it
Foresters have traditionally been clear: most hardwoods require roughly two years of outdoor seasoning to reach the below-20% moisture target. This remains a dependable guide for oak and beech.
However, some users employing this more intensive drying method say that softwoods such as pine and spruce can become suitable for burning after one well-ventilated summer. The compromise is that these woods burn more quickly, so the stove must be refuelled more often.
A practical “mix and rotate” system is becoming popular among experienced wood burners:
- Burn very dry hardwood that has aged for 2–3 years for long overnight fires.
- Store quicker-drying softwood for rapid boosts of evening heat.
- Mark stacks by year to ensure the oldest wood is always used first.
Why wood species matters as much as drying
The tree species a log comes from affects both its drying period and the heat it provides per cubic metre. Dense hardwoods, including oak, hornbeam and beech, hold substantially more energy than poplar or pine.
French energy agencies commonly group firewood into broad types:
- Hardwoods (oak, beech, ash): take longer to dry, burn for longer, provide high heat and suit primary winter heating.
- Medium woods (birch, chestnut): dry sooner, burn faster, offer pleasant flames and are easy to light.
- Softwoods (pine, fir, spruce): dry rapidly and are useful for kindling or the milder parts of the heating season, but create more resinous deposits when burned very fresh.
Using different species carefully lets you “tune” stove performance: softwood delivers a fast response, while hardwood supplies stable background warmth.
Hidden benefits: cleaner chimneys and safer homes
The emphasis on dry fuel also has an important safety basis. Logs that have not been properly seasoned burn at lower temperatures and produce extra soot and creosote. These sticky substances coat the inside of flues and can catch fire.
Switching from damp, “green” logs to properly dried ones can dramatically reduce creosote build-up and the need for emergency sweeps.
Across Europe, chimney sweeps repeatedly associate chimney-fire call-outs with damp wood, neglected flues and stoves operated with their air controls permanently restricted. Hot, clean burning depends on three factors: dry fuel, sufficient oxygen and suitable flue draw.
What “doubling the heat” means in everyday use
With an average efficient modern stove, one cubic metre of quality dry hardwood can provide approximately twice the usable warmth of the same amount burned prematurely. In practical terms, this could mean:
- Two armfuls of dry logs heating a small sitting room comfortably for an evening.
- The same room remaining only lukewarm after four armfuls of damp logs have been burned.
Homes that have moved to strict moisture management often say their winter wood use falls by 30–40%. They also find the warmth more consistent, the stove glass clearer and the ash tray less full.
Essential terms for every wood-stove owner
Anyone following this drying method will soon encounter several technical terms:
- Moisture content: the proportion of water in timber. For burning, the normal target is below 20%.
- Seasoned wood: timber air-dried outdoors for months or years, generally protected on top but left open at the sides.
- Creosote: a tar-like residue created by incomplete combustion, which becomes highly flammable after baking onto a chimney lining.
- Primary/secondary air: adjustable stove vents controlling the air entering the firebox and how thoroughly gases burn.
Knowing these terms makes it easier for users to understand stove manuals, energy-efficiency guidance and local air-quality rules.
Beyond warmth: further rewards of disciplined wood drying
This more organised method also has a psychological benefit: the log pile becomes part of an annual routine. People often describe the satisfaction of seeing a clearly labelled, well-ventilated stack that they know will heat their home through the coming cold season.
There is an environmental benefit too. When dry wood burns cleanly in a modern stove, its climate impact can be much lower than when identical fuel is lost as smoke and soot. It means less fuel used, more heat produced and fewer pollutants passing over neighbouring rooftops.
For anyone depending on logs this winter, using a more rigorous drying and stacking routine is more than a minor technical adjustment. It transforms an unplanned pile of timber into a carefully controlled heat store that performs better, burns more cleanly and makes each fire more enjoyable.



Comments
No comments yet. Be the first to comment!
Leave a Comment