
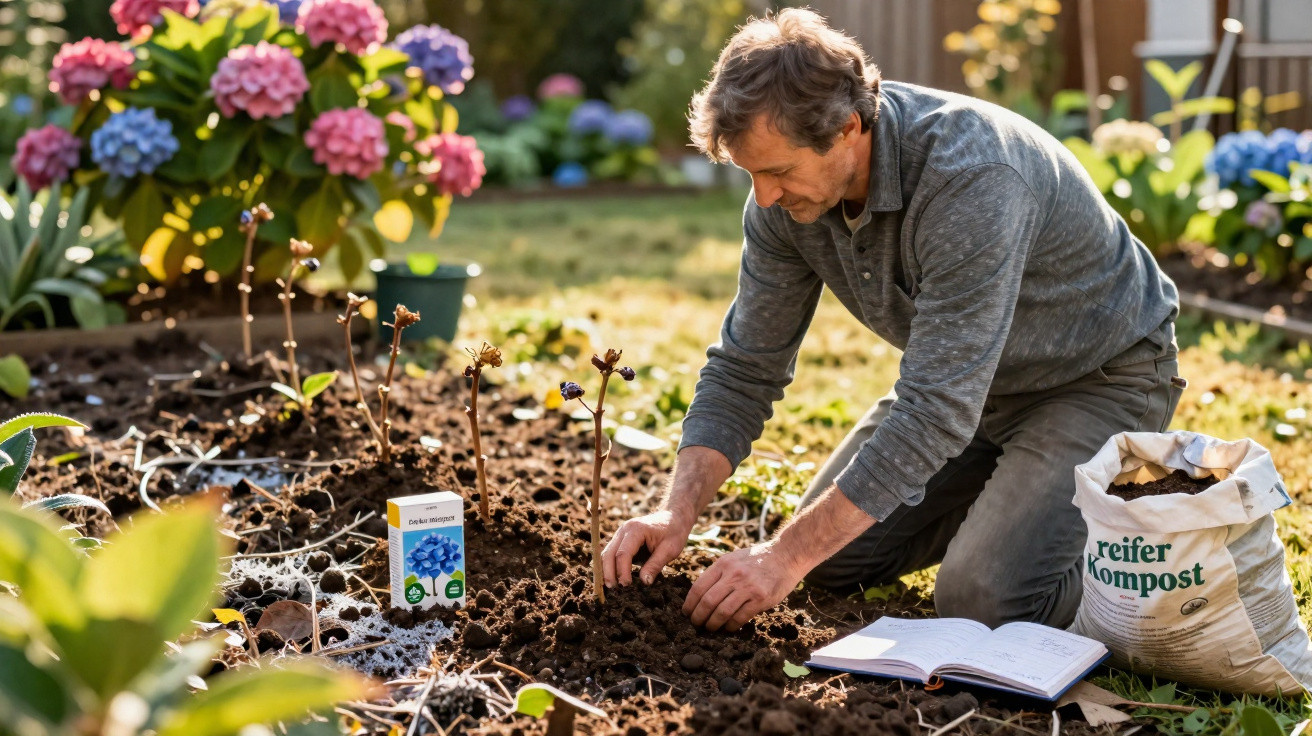
If you want enormous, colourful flower heads in your garden in July, your hydrangeas need attention in February and very early March. During this brief period, the plant determines its priorities: will it direct its energy into foliage or flowers? One modest late-winter task can decide just how spectacular your shrub will look in summer.
Why the weeks before March determine abundant blooms or a disappointing display
Hydrangeas can appear lifeless in winter. Their stems are bare, while the buds are small and unremarkable. Yet, roughly from late February to early March, the new gardening year is already beginning inside the plant. Sap starts to rise, the first flower buds develop and the root system becomes active again.
“During these few weeks, the hydrangea determines whether it will produce mainly leaves or mainly flowers.”
If nutrients are lacking at this point, the plant makes a practical choice: it concentrates on creating a strong canopy of leaves, as this supports its survival. Flowers are a luxury. Many amateur gardeners know the result all too well: an impressive, deep-green shrub with perhaps five rather feeble flower heads.
Garden experts have highlighted the same link for years: poor flowering is often caused not by incorrect pruning or a “wrong location”, but simply by unsuitable or absent fertiliser in late winter. Once this window has passed, there is little chance of rescuing the season.
Which fertiliser really benefits hydrangeas before March
Hydrangeas are classic ericaceous plants. They prefer slightly acidic, humus-rich soil. Harsh, fast-acting artificial fertilisers are therefore poorly suited to them. Mild organic nutrient sources achieve considerably better results while also protecting soil life and roots.
Mature compost: the unbeatable all-round booster for hydrangeas
Well-rotted, crumbly compost is the best first choice. It acts as a natural slow-release fertiliser while improving soil structure at the same time.
- Layer depth: 7 to 10 centimetres
- Area: apply in a ring 40 to 50 centimetres around the stem
- Timing: from mid-February to early March, depending on the region
Mature compost supplies nitrogen, phosphorus, potassium and many trace elements in moderate quantities. Each time it rains or you water, small amounts of nutrients dissolve and move into the root zone. This gives the plant a steady, gentle supply rather than a sharp, short-lived nutrient shock.
“Compost works like a slow-release energy bar: no overdose, but a constant supply for strong flowers.”
Suitable specialist fertilisers from garden centres
Anyone without their own compost can use a specialist hydrangea fertiliser. Organic or organo-mineral products with slow nutrient release are recommended. They often have NPK values in the following range:
- 7–4–5
- 8–3–9
These blends provide a moderate amount of nitrogen, more potassium and sufficient phosphorus for firm stems and flower formation. Getting the dose right is crucial. Many manufacturers’ instructions may seem cautious, but that is exactly what hydrangeas need. A modest amount spread evenly is more effective than one heavy application.
Applying too much risks precisely the outcome nobody wants: lots of long, soft shoots with huge leaves but hardly any buds.
How to apply fertiliser correctly to hydrangeas
Whether you choose compost or a ready-made fertiliser, the process is much the same and takes only a few minutes. Careful distribution is particularly worthwhile for established shrubs.
Step-by-step guide for hydrangeas planted in borders
- Loosen the soil: Use a small rake to gently break up the top layer of soil around the shrub. Avoid going too deep, so you do not damage the roots.
- Create a fertiliser ring: Spread compost or granules in a wide circle. It should extend approximately to the outer edge of the canopy, where most of the fine roots are found.
- Keep the stem clear: Do not pile fertiliser directly against the woody stems. Leaving a gap of several centimetres helps prevent rot and bark scorch.
- Work it in lightly: Carefully rake the fertiliser into the upper layer of soil.
- Water thoroughly: Give the plant a good watering afterwards. Water begins the movement of nutrients into the root area.
For hydrangeas in garden soil, one application at the end of winter is usually enough. The supply will cover the entire period of new growth and bud formation.
Hydrangeas in pots need slightly more care
Hydrangeas grown in containers are much more dependent on regular care. Their limited volume of compost becomes depleted more quickly, and nutrients are easily washed out when watering.
Two measures have proved effective for potted plants:
- A light initial feed in late winter, similar to that used for plants in borders.
- A small top-up with organic liquid fertiliser or lightly dosed specialist granules in late spring or early summer.
Always ensure an adequate water supply between feeds, but do not allow waterlogging. A dry root ball combined with fertiliser is a poor mix, as the roots can burn.
Common mistakes that hold back flower production
The same problems occur repeatedly in gardens. Knowing these pitfalls makes it easy to keep your hydrangeas on track for flowering.
Too much nitrogen and not enough balance
General-purpose plant fertiliser from DIY shops often contains plenty of nitrogen. While it creates lush green foliage, it can actively inhibit flowering. Hydrangeas are especially sensitive to this.
“Anyone who generously uses general lawn fertiliser or plant fertiliser in spring will usually harvest only leaves from hydrangeas – not flower heads.”
Products with a moderate nitrogen level and a higher potassium content are the better option. Potassium strengthens plant tissue and encourages sturdy flower stems, which is especially noticeable on large mophead hydrangeas.
Pruning at the wrong time
Although this article focuses on fertilising, one point must not be overlooked: many hydrangea varieties carry their flower buds on the previous year’s wood. Cutting them back hard in late winter can unintentionally remove half the floral display.
Traditional mophead hydrangeas in particular benefit from very careful pruning: remove only old flower heads, take out dead stems and cut individual old branches back close to ground level. Combined with the right nutrient application before March, this produces lush, sturdy shrubs.
Background: why hydrangeas are considered nutrient connoisseurs
Hydrangeas are not among the least demanding ornamental shrubs. Their relatively shallow root systems sit close to the surface, where drought and nutrient fluctuations have a particularly strong effect. Humus-rich soil with a slightly acidic pH helps to stabilise the system.
The correct fertiliser also has an important side effect on flower colour: in certain varieties, the pH value, supported by aluminium availability, affects whether blooms are more blue or pink. A balanced nutrient supply tailored to the plant encourages clearer, more intense shades.
For gardeners, this means that giving the annual “starting signal” in late winter with a mild, evenly distributed feed is an investment not only in the number of flowers but also in their quality.
Practical tips for next February in the garden calendar
A simple plan can stop the task being forgotten again later in the year:
- Check the weather forecast in January and choose a rough period for fertilising.
- Sieve compost or buy the right hydrangea fertiliser by mid-February at the latest.
- Wait for a weekend with mild temperatures, as frozen ground is unsuitable.
- Use the opportunity to remove old flower heads and carry out a quick health check on the shrubs.
Once you have established this routine, your hydrangeas will look different every year: instead of frustrating foliage, you can enjoy a sea of flower heads that brings colour to the garden well into late summer.
Comments
No comments yet. Be the first to comment!
Leave a Comment