
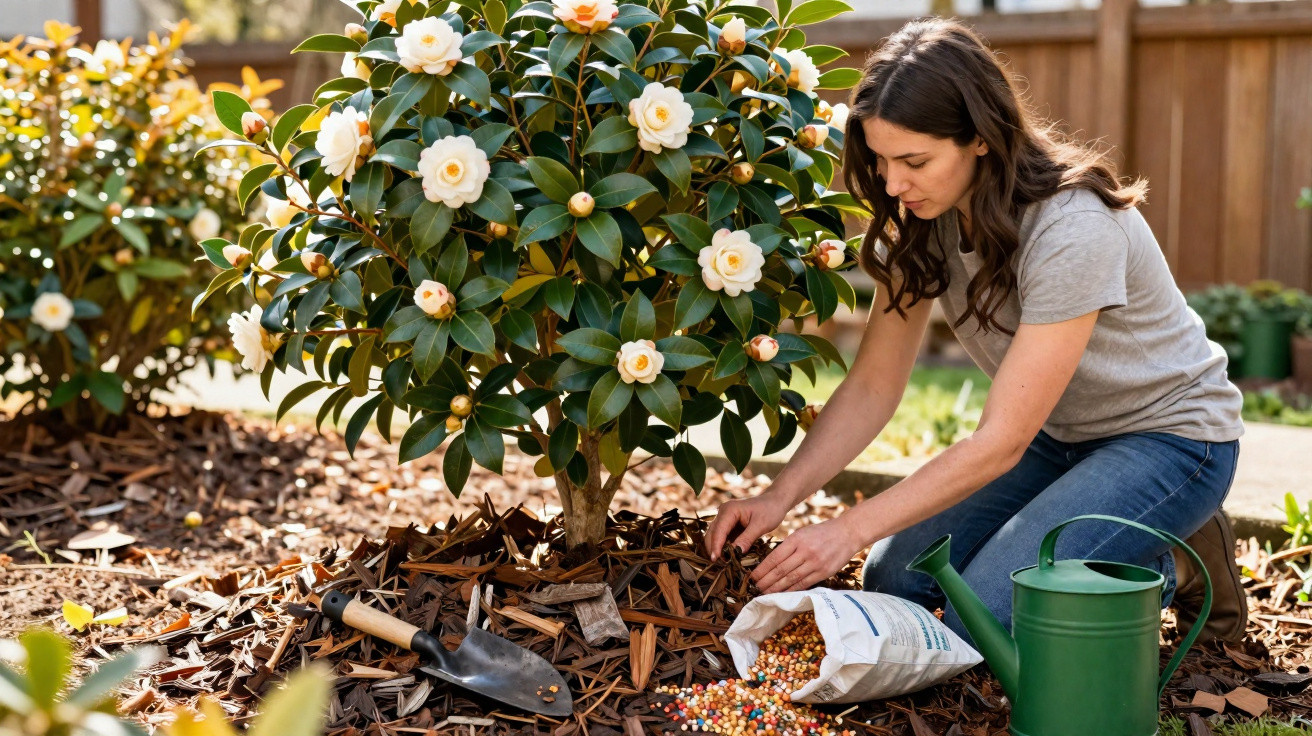
The turning point comes immediately after flowering – and it is often missed.
Anyone facing an almost flowerless camellia shrub in spring will quickly wonder what has gone wrong. Usually, disease is not to blame, but rather the way the plant has been treated during one very specific period: the weeks following flowering. This is when it is determined whether the shrub will be covered in buds the following year or bloom only sporadically again. A clear, easy-to-follow routine can set it on the path to a spectacular display.
Why a camellia shrub needs full attention straight after flowering
Once the final blooms have dropped from the shrub, many gardeners assume the plant's work is done. In fact, it is now entering a largely unseen rebuilding stage. The shrub repairs small injuries, produces fresh shoots and begins forming the buds for the next season.
“During the two to three weeks after flowering, the camellia shrub determines how many flowers it can carry in the coming year.”
If the shrub is left entirely to its own devices at this point, flower numbers often remain modest. Give it targeted support instead, and it can replenish its energy reserves and produce substantially more flower buds.
The crucial post-flowering step: fertilising and mulching correctly
The key routine should begin as soon as flowering has ended and the last petals have fallen.
The right fertiliser for abundant buds
Choose a specialist fertiliser for ericaceous plants, in other words, plants that prefer acidic soil. Labels commonly state phrases such as “for rhododendrons and camellias” or “for heather and ericaceous plants”.
Proceed as follows:
- Timing: apply it within two to three weeks of the end of flowering
- Method: depending on the product, add it to the watering can or gently work it into the top layer of soil
- Amount: always follow the manufacturer's instructions; camellias like “generous, but gentle” treatment
The shrub uses this boost of nutrients to build reserves and form more buds. The reward becomes visible the next year, when it produces a noticeably fuller covering of flowers.
Pine bark as a protective covering: why mulch doubles the result
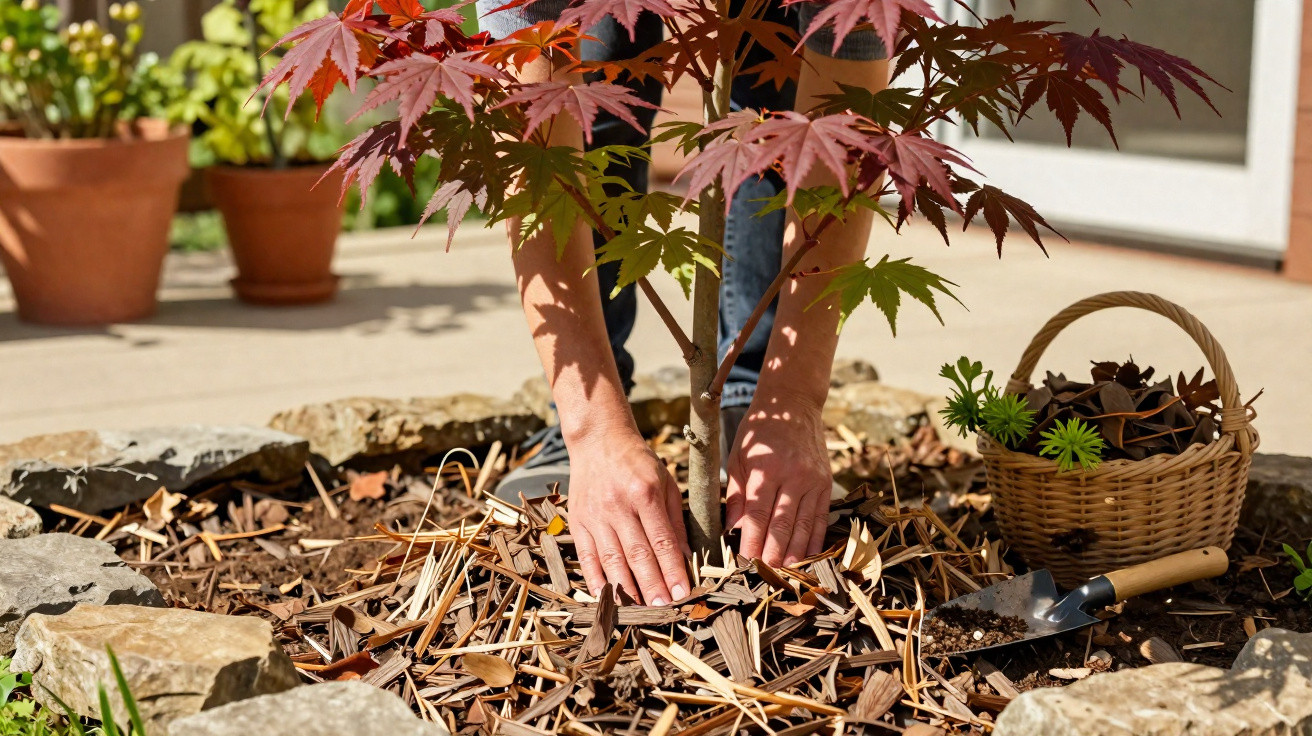
Mulching the soil beneath the camellia immediately after fertilising is also worthwhile. Bark mulch from conifers is especially suitable, such as pine bark.
A layer around 3 to 5 centimetres deep, spread over soil that is already moist, offers several benefits:
- the soil remains fresh and lightly moist for longer
- shallow roots are protected from heat and frost
- as the bark gradually breaks down, it slightly lowers the pH and makes the soil more acidic
“The combination of acidic specialist fertiliser and conifer mulch gives camellias precisely the conditions in which they produce masses of flower buds.”
Location and soil: the essential foundations for heavy flowering
Before turning to fertiliser and mulch, make sure the basic conditions are right. Otherwise, even the best care measure will have little effect.
The ideal position in the garden
Camellias originate from areas with bright yet non-harsh light. They thrive in the garden when:
- they are placed in bright but cool partial shade
- they receive morning sun but are shielded from strong afternoon sunshine
- no icy wind blows directly onto the plant
A site in front of an east-facing hedge, on the north-east side of the house or beneath lightly canopied trees is often ideal. Against a south-facing wall or in an exposed, sun-drenched lawn area, buds can dry out quickly and leaves are easily scorched.
The right soil: light, free-draining and slightly acidic
Camellias prefer loose, humus-rich soil that stays evenly moist without becoming waterlogged, with a mildly acidic pH. A pH range of around 5.5 to 6.2 is considered ideal.
A tried-and-tested planting mix is:
| Component | Proportion | Purpose |
|---|---|---|
| Ericaceous compost | 1 part | provides acidity and humus |
| Good-quality planting or potting compost | 1 part | supplies nutrients and structure |
| Loose garden soil | 1 part | links the plant to the surrounding garden soil |
There is one important warning sign to watch for: if leaves turn pale yellow while their veins stay dark green, this suggests excessive lime. The plant can no longer absorb nutrients properly, and flowering declines sharply. A more acidic growing medium, rainwater for watering and, for container plants, repotting can then help.
The worst mistakes that cost flower buds
Pruning at the wrong time: when buds are simply cut away
Camellias produce the flower buds for the following season as early as summer. Anyone reaching for the pruners enthusiastically in late summer or autumn often removes precisely those buds, then wonders why the shrub is nearly flowerless the next year.
A very gentle maintenance prune directly after flowering is better:
- remove spent blooms
- take out dried, damaged or inward-growing branches
- avoid hard pruning back into old wood
Watering mistakes: stress makes buds drop too soon
Camellias are sensitive to extreme fluctuations in water supply. Dry spells followed by sudden large amounts of water can cause buds to drop just before they open.
A sensible approach is to:
- keep the soil consistently moist, without waterlogging
- water smaller amounts more frequently in summer rather than giving large amounts infrequently
- use rainwater wherever possible to avoid lime-related problems
- apply a mulch layer to retain moisture in the soil for longer
In areas prone to late frosts, a breathable winter cover is worthwhile. Lightweight horticultural fleece around the crown protects delicate buds and young flowers. For container-grown plants, a cool, frost-free place at around 3 to 5 degrees helps prevent buds from dropping prematurely.
Extra tips: helping home gardeners get the most from their camellias
Managing container-grown camellias properly
Camellias in pots have particular requirements. Their growing medium dries out more quickly, heats up faster and cools down more sharply. Use high-quality ericaceous compost, a sufficiently large pot with a drainage layer, and make sure it has a drainage hole.
The post-flowering fertiliser trick works just as well in a pot, but dosage must be followed more strictly because root space is limited. Excessive concentrations can damage roots more quickly in containers.
How much flowering is realistic?
Anyone buying a garden-centre camellia with an exaggerated abundance of blooms on its label often expects the same display in their own garden. Yet conditions there are rarely perfect. Even a healthy shrub may need years to reach that level of flowering.
It helps to treat the first few years deliberately as a building phase: prune moderately, apply the fertilising routine consistently after flowering, and provide a shadier, sheltered position. Flower numbers will then usually increase year after year.
How post-flowering camellia care pays off in the long term
Making good use of the short period after flowering removes much of the perceived fussiness from a camellia shrub. Once the routine becomes familiar, it takes barely more than ten minutes per plant: fertilise, mulch and lightly thin out.
In return, the following spring brings a garden shrub that is no longer merely green background foliage, but resembles a living bouquet. Those who maintain this cycle over several years will see an initially disappointing plant gradually become a genuine focal point – with no magic involved, only good timing and the right steps.

Comments
No comments yet. Be the first to comment!
Leave a Comment