
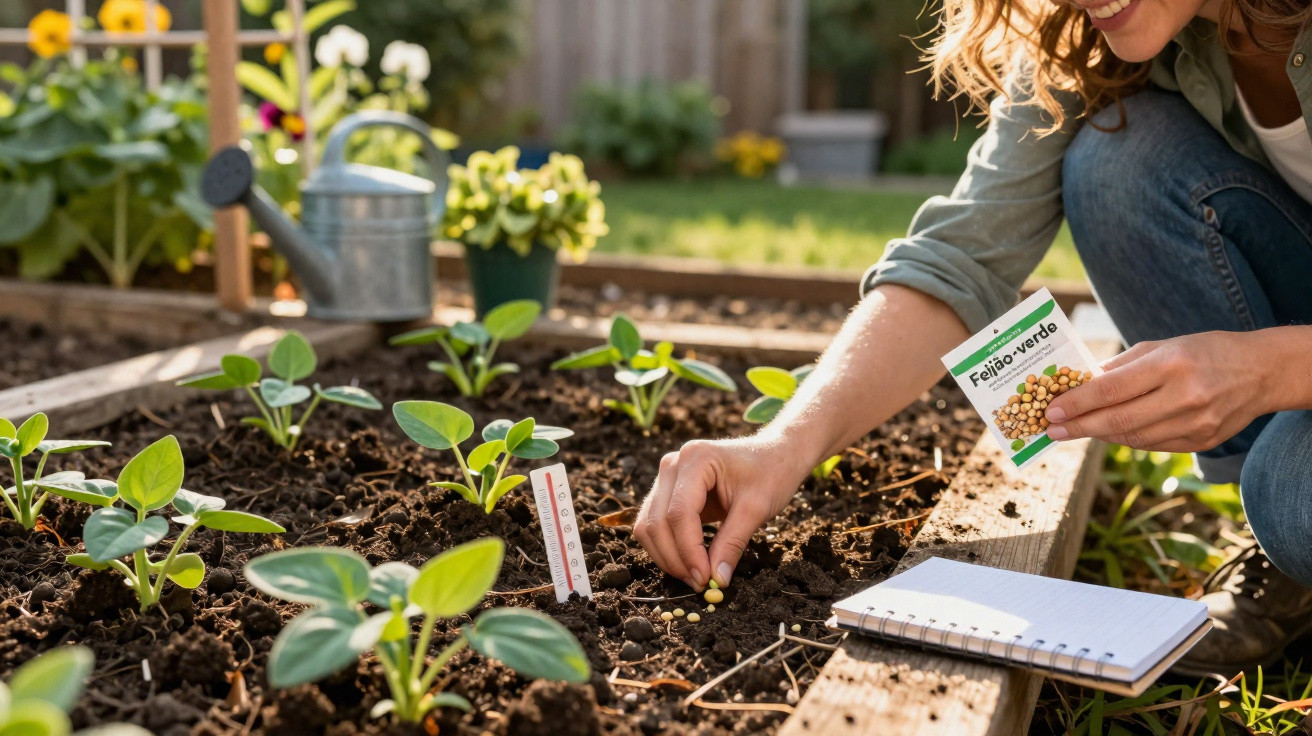
Green beans are among the vegetables that even beginners can usually grow with ease, provided the soil has warmed sufficiently and a few basic principles are followed. From sowing to the first picking, it often takes little more than two months, while a bed can produce a surprisingly generous crop of tender pods.
Why the right timing matters so much
Both dwarf beans and climbing beans thrive in warmth. In cold, wet soil, seeds are more likely to rot than germinate. This is where many home gardeners go wrong: they sow too early, the seed remains inactive in chilly ground, slugs and rot take hold, and there is ultimately too little time left for a productive late-summer harvest.
“The best start comes when the soil is consistently above 12 degrees Celsius and warms up quickly during the day.”
If you catch this window, the plants often put on an impressive burst of growth. The first shoots can push through the soil within a few days, and in under two months the plants may be laden with pods.
Best sowing times in Germany, Austria and Switzerland
Soil temperature matters more than the date on the calendar. Even so, a broad guide by region can help you estimate the best outdoor sowing period.
| Region | Approximate outdoor sowing period |
|---|---|
| Mild areas, wine-growing regions and urban gardens | From late April to mid-July |
| Central Germany and lowland areas of Austria and Switzerland | From early/mid-May to late July |
| Cooler districts, uplands and higher-altitude areas | From late May to early August |
As a general rule, sow beans only once the risk of overnight frost has passed and the soil is clearly warming in the sun. In the UK, this will commonly be from mid-May onwards, although sheltered southern gardens may be ready earlier.
How to judge the soil temperature
If you do not use a soil thermometer, a few straightforward signs can help:
- Soil taken from a depth of 5–10 cm no longer feels damp and cold first thing in the morning.
- Weeds are germinating quickly and evenly.
- Early potatoes and lettuce are making visible progress from one week to the next.
For greater certainty, use a soil thermometer. If it reads around 15 degrees or above for several consecutive days, the prospects for rapid germination are excellent.
How to sow green beans outdoors correctly
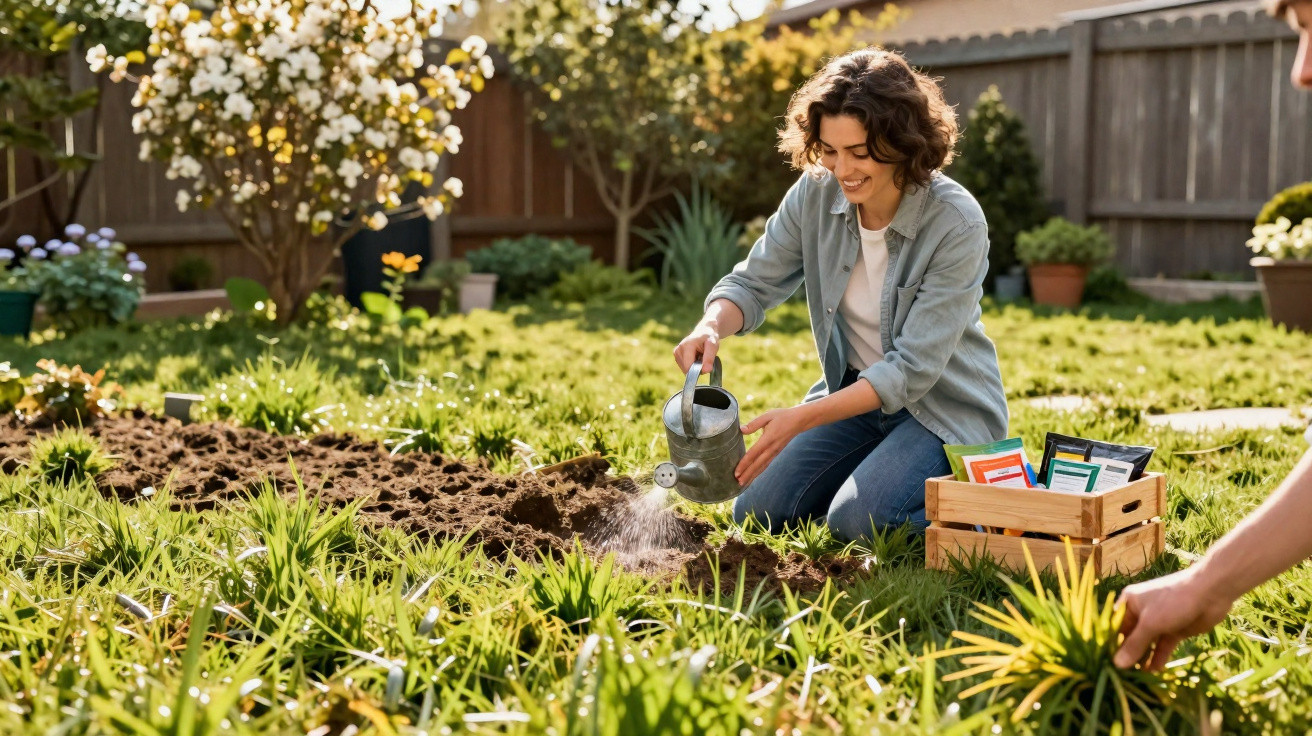
For a quick start, beans chiefly need loose, well-aerated soil. Waterlogging slows their development and encourages disease. Loosen the bed thoroughly once, then avoid walking over it when it is wet.
Preparing the soil without overdoing it
Beans have one major advantage: as legumes, they can fix nitrogen themselves with the help of root nodule bacteria. Applying heavy feedings or fresh manure immediately before sowing is therefore more likely to hinder than help.
- Loosen the soil using a digging fork or border fork, breaking up large clods.
- Work in only a modest amount of mature compost if the bed appears severely depleted.
- Do not apply fresh or high-nitrogen fertilisers.
If heavily fed brassicas or squash grew in that spot the previous year, move the beans to a different, less nutrient-rich area instead.
Rows, spacing and sowing method
Traditional rows work well for dwarf beans, whereas climbing beans need supports or canes.
For dwarf beans, sow as follows:
- Make drills approximately 3–5 cm deep, leaving 40–50 cm between rows.
- Either place one bean every 5–10 cm, or sow small groups of 4–6 seeds, known as “tuffs”, at intervals of 30 cm.
- Cover with fine soil and firm it gently so the seeds make good contact with the ground.
- Water the drill well once, either before or after sowing, then water close to the soil surface whenever possible.
When growing climbing beans, several seeds are usually placed around each cane to form small circles. Water a little more deeply at planting time so moisture reaches the roots evenly.
Preventing problems as green beans emerge
Within the ideal temperature range, beans emerge rapidly: the first leaves often appear after just 5–10 days. Even over this short period, however, several issues can arise.
Common problems include:
- soil that is too cold and wet, causing seeds to rot
- slugs feeding on the tender seed leaves
- a crusted soil surface after heavy rain
A thin layer of grass clippings between the rows - but not directly over the seed - keeps the surface open and helps prevent drying out. Beer traps offer only limited protection from slugs; slug barriers, hand-picking at dusk, or sowing in several batches to offset losses are considerably more effective.
How long green beans take from sowing to harvest
Once the soil is warm, dwarf beans seem to grow noticeably from day to day. Depending on the variety, harvesting begins after only a relatively short period.
“For dwarf beans, there are usually 50–60 days between sowing and the first crisp pods.”
Climbing beans take a few extra days to get started, but they continue producing fresh pods for a much longer period.
Successional sowing for continuous harvests
A little planning prevents a summer with no beans at first, followed by a sudden glut. Many home gardeners sow every row over one weekend, only to face a harvest bottleneck later. Sowing in stages works better:
- sow the first dwarf beans shortly after the last frosts
- add further rows at two-week intervals until late June/early July
- from midsummer onwards, rely more on climbing beans, which crop for a long time
Picking consistently every two days encourages the plants to keep producing. Allowing pods to mature and become thick noticeably reduces the formation of new beans.
Care mistakes that can seriously slow growth
Beans are undemanding, but they are sensitive to a few familiar lapses in bed care.
Water, wind and competing plants
During flowering and pod development, the crop needs a steady supply of moisture. Sharp swings between drought and wet conditions can result in tough or misshapen pods.
- Water less frequently but thoroughly, rather than lightly wetting the soil every day.
- Apply water directly to the ground to keep the foliage as dry as possible.
- Hoe weeds regularly, as they otherwise compete with beans for light and nutrients.
Once plants reach 15–20 cm in height, gently drawing soil around the stems will help anchor them. A loose mulch between the rows retains moisture for longer and suppresses weeds.
Varieties that offer quick results
For beginners, early dwarf bean varieties labelled explicitly as “early” are especially suitable. They produce a first crop quickly, even though their yield per plant does not quite match that of climbing beans.
Beans with rounded, relatively slim pods tend to remain more tender when cooked, while flat-podded types often have a fuller flavour. If you like to preserve your harvest, choose varieties suited to freezing or bottling; this is usually stated on the packet.
Healthy companion planting and useful neighbours
In a vegetable plot, beans pair particularly well with crops that use large quantities of nutrients. Because beans fix nitrogen themselves, they place slightly less demand on the soil. Suitable companions include:
- maize or sweetcorn, which provides shade and shelter from wind
- squash and courgettes, which cover the soil
- lettuce and radishes, which are harvested early and free up space
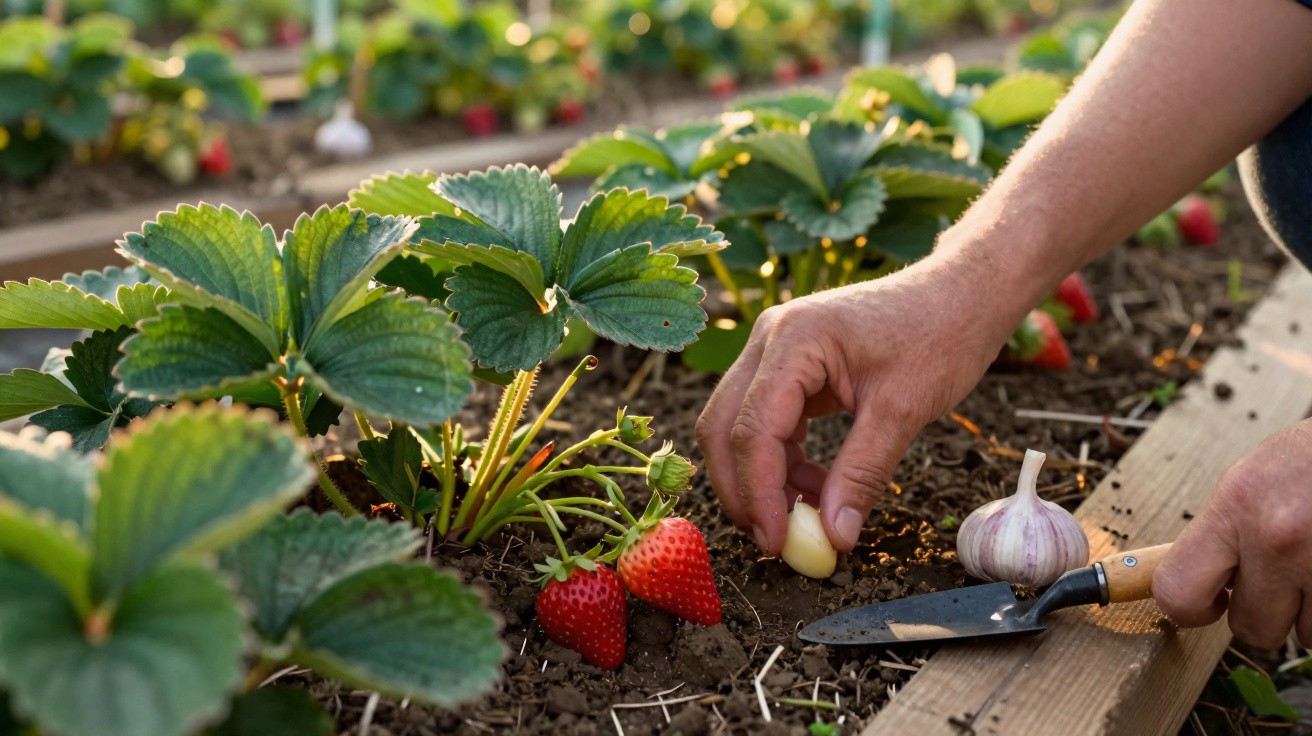
Planting beans directly beside onions or garlic is less suitable, as these can weaken the root growth of some beans. In the following year, a hungry crop such as cabbage or tomatoes can follow beans and benefit from nitrogen left in the soil.
Practical advice for beginners without a large garden
Green beans can still be grown if you only have a small backyard or balcony. Dwarf beans need only large containers or builders’ tubs at least 25–30 cm deep. Use loose, humus-rich compost, as standing water in a saucer will harm the crop.
The same watering rule applies on a balcony: direct water onto the compost rather than the leaves. Light protection from wind helps prevent young plants from snapping during thunderstorms. Beans are also an excellent project for children, since the seedlings appear quickly enough to keep everyone interested.
Comments
No comments yet. Be the first to comment!
Leave a Comment