
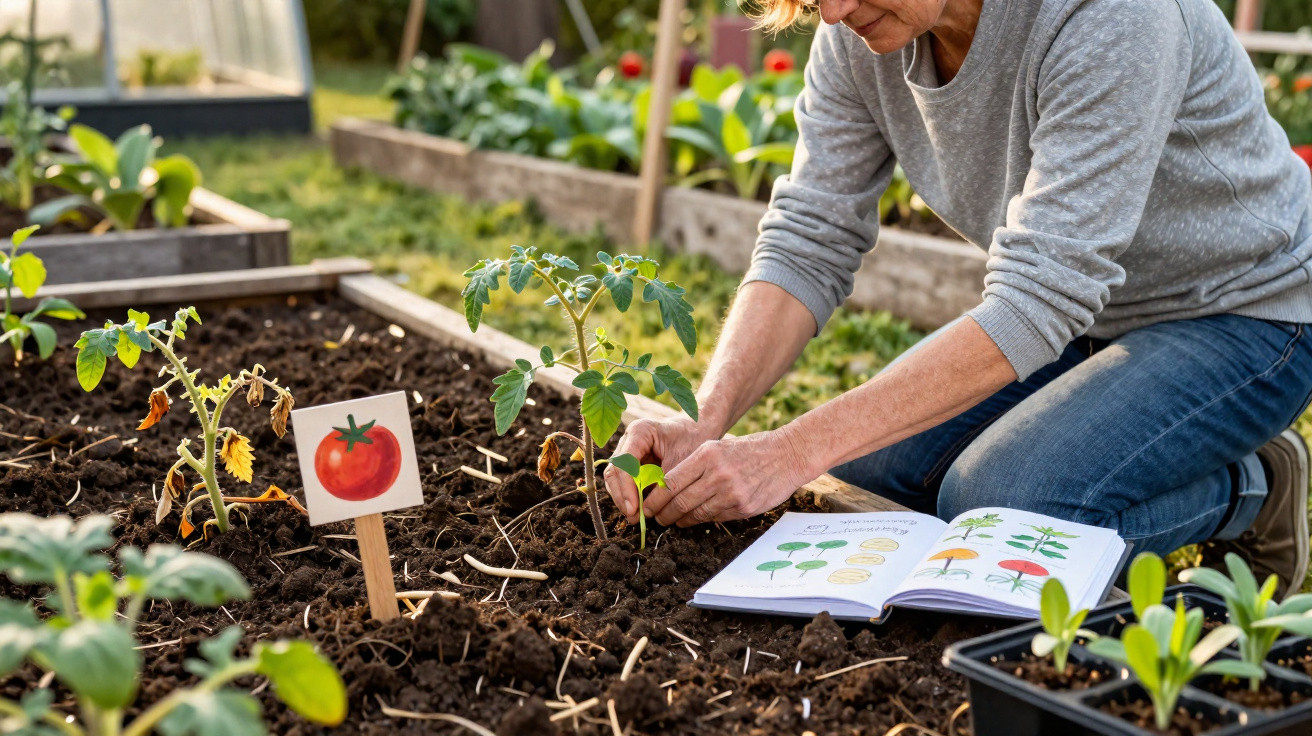
The difference often has nothing to do with fertiliser, the variety or a natural talent for gardening. Instead, it comes down to an inconspicuous trick when planning your beds. Plant tomatoes in the same square metre year after year and, slowly but surely, you create your own harvest trap.
Why tomatoes eventually struggle in the same spot
Tomatoes are among the hungriest vegetable crops in the garden. Over many weeks, they draw substantial quantities of nitrogen, potassium and calcium from the soil. If they remain in one place every year, that store of nutrients becomes increasingly depleted.
The effects are not always immediately visible, often only after two or three years:
- plants make a weaker start to the growing season
- fruits stay smaller and do not ripen as well
- leaves turn yellowish or look “tired”
There is also a second issue: soil structure. Repeatedly growing the same crop can compact or erode the soil. Water may either drain away too quickly, leaving roots dry, or collect and encourage rot. Both situations place considerable stress on the plants.
Most serious, however, is the gradual build-up of soil-borne diseases. In particular, the dreaded blight fungus (often simply known as “mildew” or rot) leaves spores behind in the soil and plant debris. Replanting tomatoes in precisely that spot effectively rolls out the red carpet for the pathogen.
Tomatoes in the same location often appear normal at first – until a combination of nutrient deficiency, tired soil and fungal spores takes hold.
The key professional rule: give tomatoes at least four years away
Professional vegetable growers take a firm approach: tomatoes should not return to the same bed for at least four years, and often not for five. It is a clear timetable that many home gardeners underestimate.
So, if you grow tomatoes in a particular bed in 2026, do not plant tomatoes there again until at least 2030. That gap breaks the disease cycle and allows the soil time to recover.
It is equally important to consider plant families. Tomatoes belong to the nightshade family, along with:
- potatoes
- peppers
- chillies
- aubergines
All of these crops share many common pests and diseases. Simply following tomatoes with potatoes or peppers in the same position only moves the problem along; it does not solve it.
Nightshades should be treated like a small family in one location: if one member has grown there, the whole family needs several years away.
What to grow in the bed after tomatoes
The space left after the tomato season is not a problem but a valuable opportunity. With suitable follow-on crops, the soil can recover and even become more fertile.
1. Legumes as natural soil improvers
Peas, beans and broad beans form a partnership with specialised bacteria on their roots. These microorganisms capture nitrogen from the air and add it to the soil. For the bed, this means free nutrient enrichment.
- sow peas densely in spring: around 100 grams of seed per 10 square metres
- grow dwarf beans in rows during summer: they loosen and revitalise the soil
- sow broad beans very early in the year: they make the best use of the cool season
2. Green manure instead of bare soil
Leaving a bed empty through autumn and winter reduces soil life and nutrient levels. A living “protective carpet” is the better option:
- phacelia: grows quickly, flowers attractively and draws in insects
- winter vetch: also fixes nitrogen
- oats: produce fine roots and loosen heavy soils
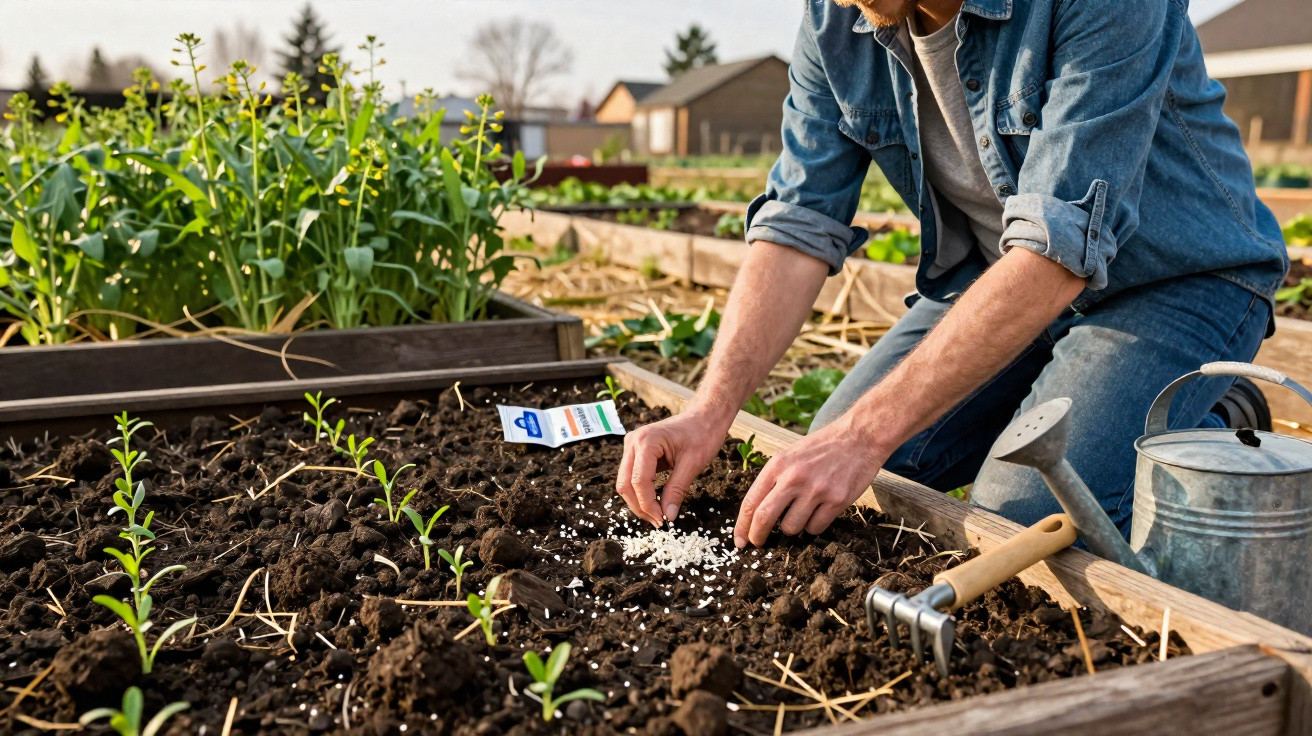
As a guide, 20 to 30 grams of phacelia seed per square metre is enough to create dense cover. In spring, the plants can be worked lightly into the soil or left in place as mulch.
3. Light crops to fill the gaps
Less demanding crops that place little strain on the soil are also suitable after tomatoes:
- radishes
- small turnips or navets
- lamb's lettuce
- leeks
These crops remove only moderate amounts of nutrients and share very few diseases with tomatoes and other nightshades. This keeps the risk of fresh fungal and bacterial outbreaks low.
Crop rotation for tomatoes in a mini garden: making it work in 20 square metres
Many home gardeners assume that proper crop rotation requires a large farm. That is not the case. Even a compact urban garden or a terraced-house vegetable bed can be divided up sensibly.
A straightforward way to begin:
- Divide the bed into three or four equally sized sections.
- Give each section one “main family” each year, such as nightshades, brassicas, root vegetables or legumes.
- In the following year, move every family on by one section, as if moving clockwise.
| Year | Bed A | Bed B | Bed C |
|---|---|---|---|
| 2026 | Tomatoes & peppers | Brassicas | Peas & beans |
| 2027 | Brassicas | Peas & beans | Root vegetables |
| 2028 | Peas & beans | Root vegetables | Lettuce & spinach |
You do not need a perfect plan. What matters more is avoiding the habit of putting tomatoes back into the same corner every year for convenience. A small notebook is sufficient: make a brief note of which family grew where – three minutes each year that makes a noticeable difference to the harvest.
Gardeners who keep records build knowledge. Their plants repay them with more reliable harvests and fewer failures.
The greenhouse exception: discipline is essential
Protected growing conditions are ideal for many pathogens: warm, humid and often with very little airflow. That is why fungi and bacteria can be especially persistent in greenhouses.
Tips for tomatoes grown under glass or polythene:
- do not plant tomatoes in exactly the same place in the greenhouse every year if space allows
- occasionally replace the top layer of soil or work in fresh compost
- remove diseased leaves and entire plants consistently, and do not put them on the compost heap
- ventilate well so moisture dries more quickly
If you only have a small polytunnel, containers can also help. They can be filled with fresh compost each year or moved to a different location, giving pathogens fewer opportunities to persist.
Practical steps from autumn: strengthening soil for the next tomato season
The best time to prepare for healthy tomatoes is not spring, but immediately after harvesting.
- Apply mature compost: two to three kilograms per square metre provides fresh nutrients and supports more life in the soil.
- Remove plant material that looks suspicious rather than digging it in.
- Sow green manure so rain and frost do not “wash out” the soil.
- Deliberately plan tomatoes for a different corner the following year – and record it in your notebook.
Making these measures routine gradually creates stable, healthy garden soil. Many fungal problems then never arise in the first place, rather than needing to be tackled afterwards.
Why rotation achieves more than any specialist fertiliser
Garden centres offer countless tomato fertilisers, leaf tonics and sprays. Yet changing the growing position remains the real foundation. Fertilising without crop rotation is like giving an exhausted person a caffeinated energy drink: it helps briefly, but does not address the underlying issue.
A well-planned rotation of plant families:
- reduces fungal and bacterial pressure
- improves soil structure over the long term
- saves money on fertiliser and plant-protection products
- makes harvests more predictable, even in difficult years
This forward-looking approach is particularly worthwhile for tomatoes, a crop many gardeners care about deeply. Anyone who sees plants, soil and disease as one connected system will need to spray less often and experience fewer total losses from rot.
That is the small secret of the professional vegetable grower next door: they do not plant tomatoes “wherever there is still space”, but deliberately give the former site several years to rest. This single planning step often determines whether summer brings only a handful of tired fruits hanging from canes – or crates full of aromatic tomatoes from the garden.

Comments
No comments yet. Be the first to comment!
Leave a Comment