
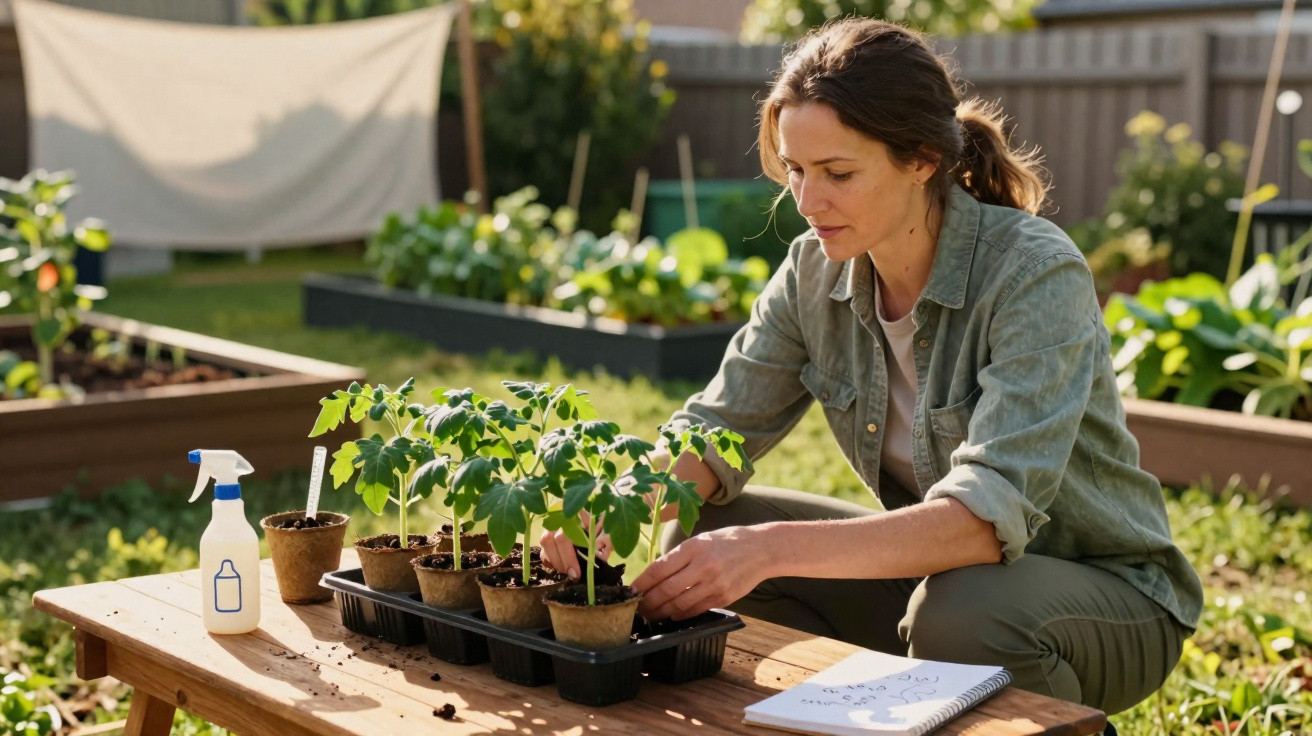
Many home gardeners look forward to the first warm day in April or May and simply put their carefully raised tomato plants outside. The calendar and weather app say “Go”, so out they go onto the balcony or into the bed. Yet this seemingly spontaneous move causes countless tomato plants to scorch, wither or even die every year – often without gardeners recognising why.
The classic spring mistake with tomato plants
Tomatoes raised indoors, in a greenhouse or conservatory are initially given extremely gentle conditions. They grow at steady temperatures of around 20°C, in filtered light and with hardly any wind. As a result, their leaves are very delicate, their surface has only a thin protective layer, and their root system has barely spread.
These plants have effectively come from a wellness retreat. Outdoors, the rules are entirely different: UV radiation is much stronger, winds can be brisk, nights may be cold, and the soil is often still wet and chilly. Moving tomatoes straight from the living-room windowsill into these conditions asks them to cope with something they are not yet biologically prepared for.
“The leap from a warm windowsill into full sun is not an upgrade for tomatoes, but a shock.”
Typical effects of this shock include:
- leaves turning whitish or brown within one to two days
- limp stems that become soft
- a complete halt in growth for several weeks
- in extreme cases, the death of entire plants
Tomatoes are not the only plants affected. Other heat-loving vegetables commonly raised before planting out, including peppers, chillies, aubergines and basil, are similarly sensitive. Direct-sown crops such as radishes or carrots barely face this issue, as they germinate outdoors and adapt to the conditions from the outset.
The overlooked stage: hardening off tomato plants properly
The key to turning tender young plants into sturdy outdoor tomatoes is hardening off. This is a gradual process of acclimatising plants to sun, wind and changing temperatures. During this period, they develop stronger tissue, their leaves form a more resilient surface, and their water management improves considerably.
A suitable time to begin hardening off is when daytime highs are consistently around 15°C and no overnight frosts are forecast. A straightforward acclimatisation routine can then be completed over seven to ten days.
Nine-day plan for robust tomato plants
This is a simple schedule that also works well for people with busy jobs:
- Days 1 to 3: Put plants outside for 1–2 hours each day in a sheltered, shaded spot, such as beside a house wall or under a table. Bring them back indoors afterwards.
- Days 4 to 6: Leave them outdoors for 4–5 hours. Give them gentle morning sun, then move them into partial shade or shade from midday onwards. Take them inside again in the evening once temperatures fall noticeably.
- Days 7 to 9: Place them for 6–8 hours in their eventual position: on a balcony, patio or in a bed. Continue bringing them in on cold nights; on mild nights, they can already stay outside beneath horticultural fleece or in a polytunnel.
The changes in the plants are visible during this time: stems become sturdier, leaves feel slightly tougher, and the tomatoes cope far better with brief dry spells and slightly cooler air. They are then ready to be planted into the soil.
Planting tomatoes into a bed with minimal stress
Hardening off is followed by the actual move into the garden or large containers. Taking care at this stage gives the plants a genuine advantage at the start.
- Water thoroughly before planting: Let the root balls become fully saturated. This makes the fine roots less likely to break during transplanting.
- Make planting holes deep enough: A depth of around 20 centimetres is useful. Part of the stem can be buried because tomatoes produce additional roots along the covered section of stem.
- Plant the stem deeply: Around 10 centimetres of stem beneath the soil creates a stronger root system and therefore steadier growth.
- Support immediately: Insert a cane straight after planting and loosely tie in the plant so that wind cannot toss it back and forth.
- Mulch: A layer of straw, dried grass clippings or leaves keeps soil moisture more even and prevents sharp temperature swings around the roots.
“Those who plant tomatoes deeper and mulch them straight away save the plants stress and themselves a great deal of watering.”
Moisture, fungal diseases and how milk can help
Tomatoes thrive in sunshine and warm air, but they dislike leaves that remain wet. Permanently damp plants combined with poor air circulation provide ideal conditions for fungal diseases such as late blight, powdery mildew, Botrytis or bacterial leaf spot.
A few simple measures can reduce the risk considerably:
- water tomatoes at the root zone rather than over the leaves
- water in the morning or evening, not in the midday sun
- leave enough space between plants for the wind to dry them
- in wet summers, use a roof or tomato house to keep plants as dry as possible
Many home gardeners also rely on a long-established household method: a milk spray. Mix around 10 to 20 percent full-fat or semi-skimmed milk with water, then spray it onto the foliage every 10 to 15 days. The milk proteins and lactic acids can slow fungal growth while also strengthening the leaf surface.
Common practical questions
How can I recognise sun scorch on tomatoes?
Leaves affected by sun scorch first appear milky or glassy. Later, the damaged areas dry out and turn brown. These marks are usually found on the upper leaves exposed to the sun, while shoots below often remain green. This clearly indicates that the move from indoors to full sun happened too quickly.
When can tomatoes stay outdoors permanently?
The deciding factor is less a fixed date than the combination of temperature and weather conditions. As a general guide, there should be no overnight frosts in the forecast, night-time lows should remain consistently above 8°C, and daytime temperatures should at least reach the low double figures. In cooler areas, it is worthwhile waiting an extra two weeks or using horticultural fleece and a plastic cover.
Why this one overlooked phase determines the harvest
Skipping hardening off may save a week and a few trips carrying the plant tray. In return, however, it risks several weeks of lost growth and, in extreme cases, total crop failure. Tomatoes that suffer a severe shock at the start rarely make up the setback completely. Their harvest will be markedly smaller or delayed, often into the already wetter autumn – precisely when fungal diseases are at their peak.
Those few days of gradual acclimatisation therefore pay off twice: plants grow evenly from the beginning, and the fruit ripens earlier during the more stable high-summer period. Anyone who tries this consciously once will never again plant tomatoes outdoors without hardening them off first.
Beginners may find it useful to test two groups side by side: plant one directly outdoors and harden off the other using the nine-day plan described above. After only a few weeks, the difference is usually so obvious that no further discussion is needed. A small step in spring can therefore lead to a far more reliable and much more abundant tomato harvest in summer.

Comments
No comments yet. Be the first to comment!
Leave a Comment