

Many keen gardeners stop working in January and simply wait for spring. Yet this is precisely what costs countless hydrangea blooms every year. Anyone thinking, “Nothing is growing anyway”, overlooks the fact that these plants are already preparing for the season – just out of sight. One straightforward job in the depths of winter can later make the difference between a few meagre flower heads and a shrub completely covered in blooms.
Why January determines your hydrangea flowering
By the middle of January, the garden can appear frozen in time. For hydrangeas, however, this is a crucial period. Most popular varieties, including mophead hydrangeas (Hydrangea macrophylla), form their flower buds during the previous year. These buds sit in what looks like dry wood, waiting for warmer weather to arrive.
These buds are particularly vulnerable to sudden cold spells. Hard frosts or sharp temperature changes can kill them off – the plant will survive, but may produce hardly any flowers in summer. Taking action in January protects these inconspicuous powerhouses before the harsh February nights arrive.
A few minutes of work in winter can determine whether you get hundreds of flowers in summer.
At this time of year, the shrub often looks like “dead wood”. Yet the buds contain concentrated life, while unseen processes are taking place around the roots. This is where the key trick comes in: not at the top of the shoots, but at the plant’s base.
Keep the pruners away: do not cut back now
Many people routinely prune hydrangeas in winter. This is one of the most common mistakes. Cutting back in January not only removes the protective old flower heads and shoot tips, but also creates fresh wounds that frost can exploit mercilessly.
The apparently dead flower heads have a protective function during winter. They provide some shelter to the buds underneath. Removing them now exposes these delicate areas. What is more, pruning can encourage some plants to produce new growth – and that growth would freeze immediately.
In winter, hydrangeas do not need shaping; they need warm roots.
The secret to abundant flowers therefore lies in the soil. The aim is to create a warm zone around the roots and the lower part of the shoots, preventing frost from reaching deeply into the area where the plant stores its reserves.
A “winter coat” for hydrangeas: suitable materials
The good news is that there is no need to spend money on specialist products. Almost every garden already provides what hydrangeas need for protection at this point in the year – entirely sustainably. A proper “winter coat” of organic material creates an insulating layer over the root zone.
Natural protective materials at a glance
- Leaves: Oak and beech leaves are particularly suitable because they decompose slowly and remain loose for a long time.
- Pine bark: As well as insulating the soil, it makes it slightly acidic – ideal for blue hydrangea varieties.
- Straw or hemp bedding: Air trapped inside the stems provides excellent insulation against frost.
- Dried fern fronds: Those living near woodland can use them; they repel water and release nutrients.
The important factor is not finding the “perfect” material, but using the right quantity and structure. The layer needs to be thick enough to cushion the cold while still remaining airy enough for air to circulate.
How to apply the protection correctly – step by step
You can put a winter coat around your hydrangeas in just a few minutes. Taking care is worthwhile: a well-made layer not only protects against frost but also improves the soil later on.
- Tidy gently: Remove only large weeds and dead plant debris from around the shrub. Do not rake deeply, as this could damage the fine roots.
- Prepare the material: Fluff up leaves, pull apart large clumps and divide straw into manageable bundles. Let wet material dry slightly first, otherwise it will go mouldy more quickly.
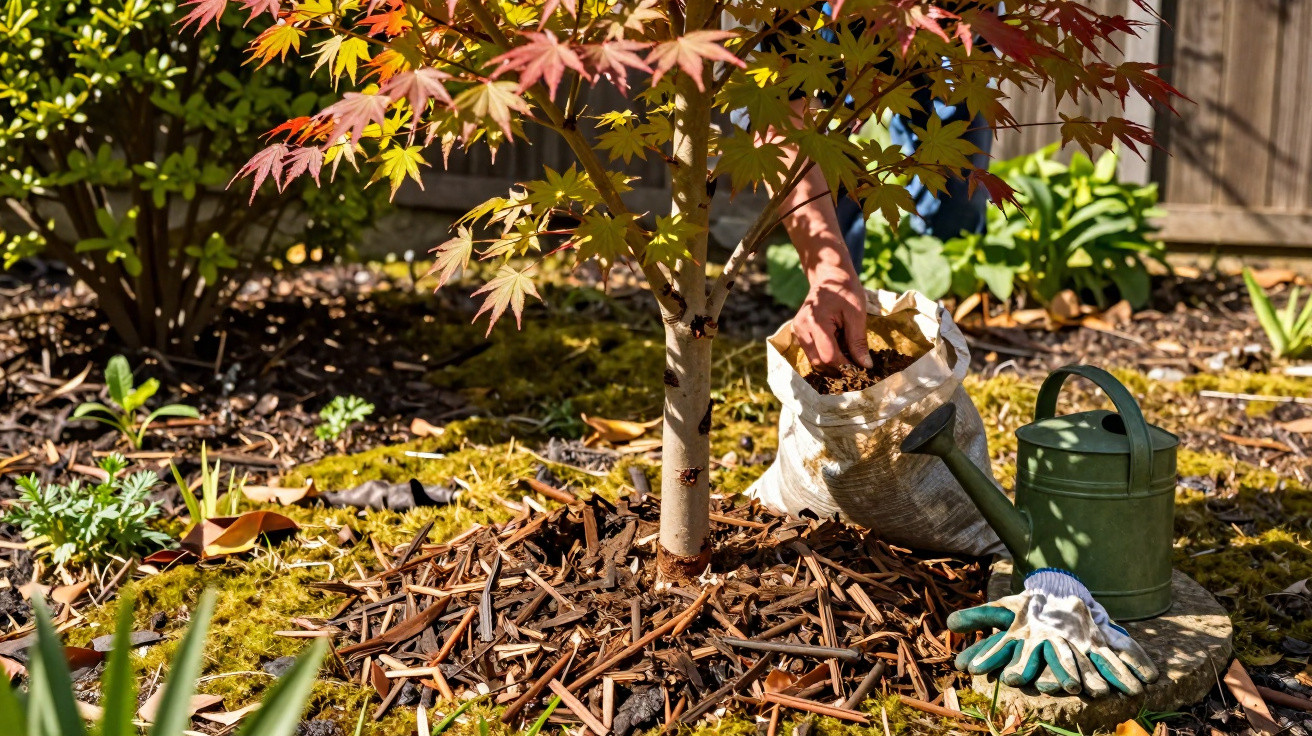
- Build up the layer: Spread a thick covering around the base of the plant. Professionals recommend a depth of at least 10 to 15 centimetres.
- Leave space around the stems: Keep a small ring measuring 1 to 2 centimetres clear directly around the shoots, so the base does not remain constantly damp.
- Do not compact it: Shape the pile lightly, but do not tread it down. The trapped air acts as insulation.
The ideal protective layer is soft, loose and roughly a hand’s width deep.
In very exposed positions – such as draughty corners or open, windy sites – you can also place horticultural fleece loosely over the plant. The crown must still be able to breathe. Plastic sheeting is unsuitable because moisture builds up beneath it.
Why this winter trick delivers twice the benefit in spring
Frost protection is only the first advantage. The real bonus starts in spring, when the organic material gradually breaks down into humus-rich soil. Hydrangeas particularly appreciate this because they need loose, slightly moist soil with plenty of nutrients.
The humus that develops feeds soil organisms such as earthworms and microbes. They loosen the soil, create fine channels for water and air, and release nutrients that the plant later uses for buds and flowers.
There is another benefit: once the first warm days arrive, the protective layer retains moisture in the soil for longer. This reduces drought stress and saves you many watering trips. Hydrangeas often respond to a lack of water with limp leaves and smaller blooms – anyone who has seen them on a hot day in June knows how sensitive they can be.
Common mistakes that can cost you a spectacular display
| Mistake | Consequence |
|---|---|
| Pruning in January | Flower buds are removed and frost damage occurs at fresh cut surfaces |
| Mulch layer too thin | Frost reaches the base, affecting buds and roots |
| Mulch touching the shoots directly | Moisture builds up, creating a risk of rot at the root collar |
| Mulch trodden down firmly | No air in the soil, mould forms and roots “suffocate” |
Anyone who avoids these pitfalls and applies protection in good time will have much better prospects in spring. Many seemingly “frost-sensitive” hydrangeas have simply gone into winter poorly prepared.
How to enhance the effect even further
If you want to give your hydrangeas extra care, combine this winter trick with a few simple additions. A thin layer of mature compost beneath the mulch provides nutrients gradually without overwhelming the plant. Use only fully matured, crumbly compost, never fresh, hot material.
In areas with extreme late frosts, it is worth checking again in February or March. If the mulch layer has slipped apart or been blown away, rebuild it quickly. Young plants in particular benefit from this added protection.
For blue hydrangeas, which often require a slightly acidic environment, pine bark and a specialist hydrangea fertiliser are a good combination. The bark helps keep the pH value within the right range, while the fertiliser supplies the trace elements needed for an intense blue colour.
Anyone who has experienced a season in which hydrangeas practically burst into flower after a mild, well-prepared winter will not want to go without this simple winter trick again. The effort is minimal, but the result in the garden is clearly visible – especially when neighbouring shrubs are flowering only sparsely after late frosts.


Comments
No comments yet. Be the first to comment!
Leave a Comment