
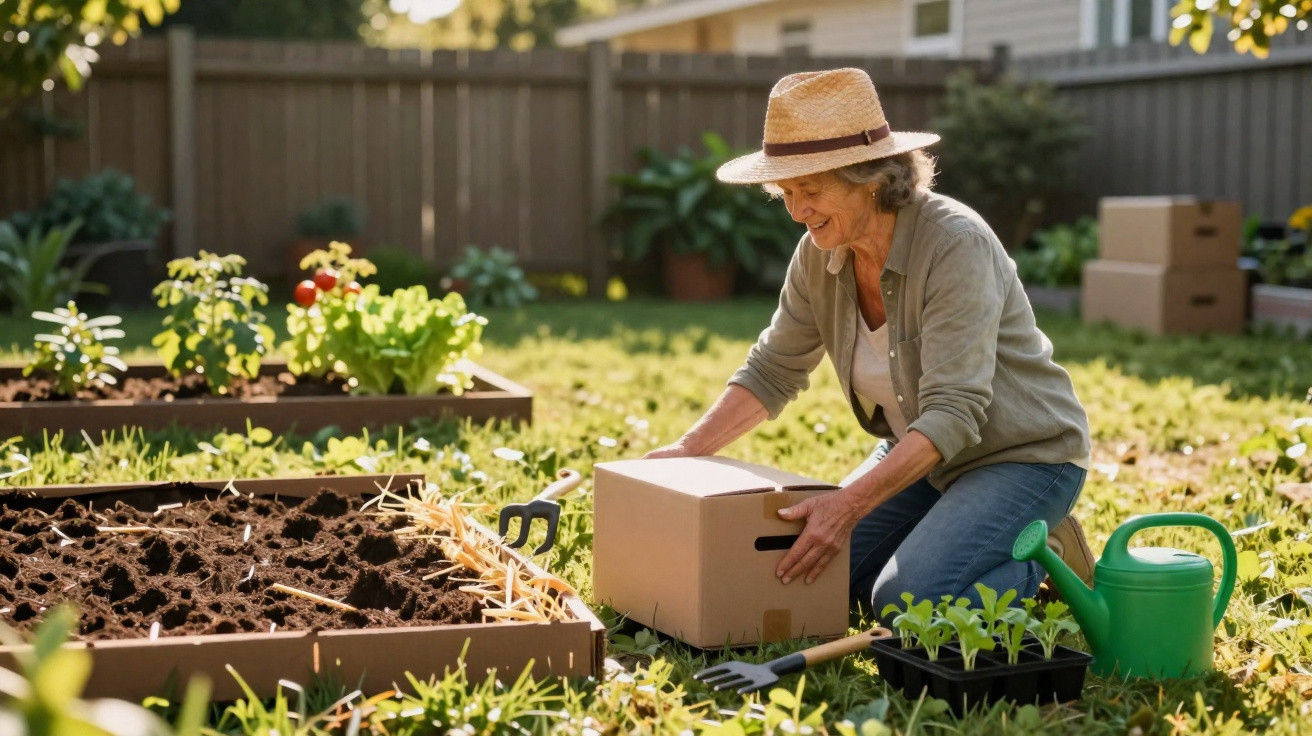
What may initially sound like eccentric advice from next door is actually a remarkably effective permaculture technique. No digging, no aching back and no chemicals: ordinary packaging cardboard can turn a standard lawn into a productive vegetable bed within a few weeks, provided a few rules are followed.
How cardboard becomes a gardener
The principle is almost disarmingly straightforward: lay a solid layer of brown corrugated cardboard over closely mown grass. There must be no holes or gaps that let in light. Add compostable materials on top, and the basic job is done. At first, it can resemble an improvised rubbish heap, but a surprisingly complex process begins beneath the cardboard.
“The cardboard blocks out light, unwanted plants die back – and at the same time become food for new life in the soil.”
With no light reaching the turf and weeds, they can no longer photosynthesise. Most roots are depleted within three to six weeks. The plants decompose directly beneath the cardboard layer, adding organic matter to the ground.
At the same time, soil organisms get to work: earthworms pull cardboard fibres downwards, break down the dead grass and combine everything with the existing soil. The result is dark, moist, friable earth that traditional gardens often take years of digging and composting to achieve.
Studies suggest that this light-exclusion method can suppress up to around 99 per cent of weeds – more than chemical total herbicides. It does so using a material that many supermarkets give away free of charge.
Choosing the right cardboard: not every box belongs in a vegetable bed
Before emptying every box from the garage or cellar, it is worth pausing. Some forms of cardboard are unsuitable for garden use. The wrong material can introduce harmful substances into the soil or simply fail to rot down.
How to identify suitable cardboard
- Use only brown, unbleached corrugated cardboard
- Avoid glossy surfaces, coatings and plastic
- Do not use colourful or heavily opaque printing inks
- Remove all parcel tape, labels, staples and leftover film first
Plain delivery boxes and unbranded supermarket transit cartons are usually good choices for the bed. Colourful toy packaging and greasy pizza boxes do not belong in a vegetable garden, as they are often coated or heavily printed.
Turning lawn into a cardboard vegetable bed: step by step
Building it is uncomplicated, but success depends on getting the details right. Cutting corners here can mean persistent roots reappearing later or dry patches developing in the bed.
1. Prepare the ground
Mow the chosen area, but do not dig it over. The cut grass can remain in place, where it provides another organic layer. Thick woody stems or substantial root crowns may be removed or cut back so that the cardboard lies as flat as possible.
2. Lay out the cardboard
The sheets need to overlap generously – ideally by 15 to 20 centimetres. This prevents even a narrow shaft of light from getting through. Tiny openings are enough for vigorous plants such as bindweed to force their way back to the surface.
Once every sheet is in place, water it thoroughly. Damp cardboard moulds itself to the soil, is less likely to blow away and begins decomposing more quickly.
3. Build up organic layers
“The system works like a lasagne: layer by layer, waste is transformed into a complete growing medium.”
Now alternate between ‘brown’ and ‘green’ materials on top of the cardboard:
| ‘Brown’ materials (carbon-rich) | ‘Green’ materials (nitrogen-rich) |
|---|---|
| Leaves, straw, woodchips, shredded paper | Grass clippings, plant-based kitchen scraps, fresh plant material |
| Dried perennial stems, untreated sawdust | Coffee grounds, tea leaves, manure from herbivores |
The combined layers should be at least 10 centimetres deep, and more is welcome. Adding mature compost as the final layer means planting can begin straight away. Without a compost layer, it is better to allow a little more time.
When you can start planting
For many amateur gardeners, the key question is whether the cardboard must have fully decomposed before vegetables are planted. The answer is more relaxed than many people expect.
Plant immediately or wait?
- Finished with compost: sturdy young plants such as tomatoes, courgettes or squash can be planted at once.
- Without compost: wait four to six weeks for the materials to settle.
- For the impatient: cut planting holes directly through the cardboard and place seedlings in them.
The roots will then grow through the soft, damp cardboard into the soil below. This works particularly well for vigorous crops. It is less suitable for neat rows sown with tiny seeds.
Plants that establish well – and those better left until later
The following are especially suitable for the first year in a ‘cardboard bed’:
- Tomatoes, peppers and chillies
- Courgettes, squash and cucumbers
- Cabbages, chard and lettuces
- Strawberries and many herbs
Sensitive root vegetables such as carrots, parsnips and Hamburg parsley grow better once the ground has become looser and the improved soil reaches deeper down. Those who enjoy growing them should ideally save them for the second year, when the layers have fully turned into crumbly humus.
Common pitfalls: slugs, dryness and unsuitable materials
Hardly any gardening technique comes entirely without side effects. In the early stages, the cardboard method can sometimes lead to more slugs, as they favour the moist and sheltered conditions.
When planting out seedlings, many gardeners scatter a little organically approved slug pellet around the stems, or use barriers such as copper tape and rough edging. After a few weeks, the initial slug boom usually passes as the surroundings become drier and more open.
There is another consideration: if the organic layer is applied too thinly, it may dry out in the height of summer. Mulching often reduces watering by 30 to 40 per cent, but the system needs several generous waterings at the start to establish itself properly.
Why the soil improves every year
“The bed works like a savings account: you pay in with leaves and kitchen scraps – then withdraw in the form of vegetables later.”
Over the course of the season, the cardboard layer almost disappears completely. What remains is richly dark, crumbly soil in which roots can spread easily. Adding another layer of cardboard and fresh organic materials each autumn steadily improves the soil’s fertility.
After two to three years, many amateur gardeners face a welcome problem: their beds become so fertile that they need to hold certain crops back rather than encourage them, so they do not “get out of hand”. At the same time, maintenance decreases because few persistent weeds can break through and the soil remains covered all the time.
Why this approach is kinder to backs and the climate
Cardboard gardeners can avoid heavy equipment and hours of digging. This is easier on the back while preserving soil structure. Fine fungal networks and microorganisms below ground remain largely undisturbed instead of being destroyed again every season.
There is another benefit: many materials that would otherwise be thrown away are put to use again. Delivery boxes, dry leaves, grass cuttings and vegetable scraps from the kitchen all become part of the cycle. Less organic waste ends up in the bin, while the garden becomes less dependent on bought-in fertiliser.
Anyone beginning with a small bed will quickly notice how much this technique can alter the character of a garden. Instead of a sweaty battle against weeds and compacted ground, it creates a system that largely sustains itself – with an unassuming cardboard box providing the starting point.
Comments
No comments yet. Be the first to comment!
Leave a Comment