
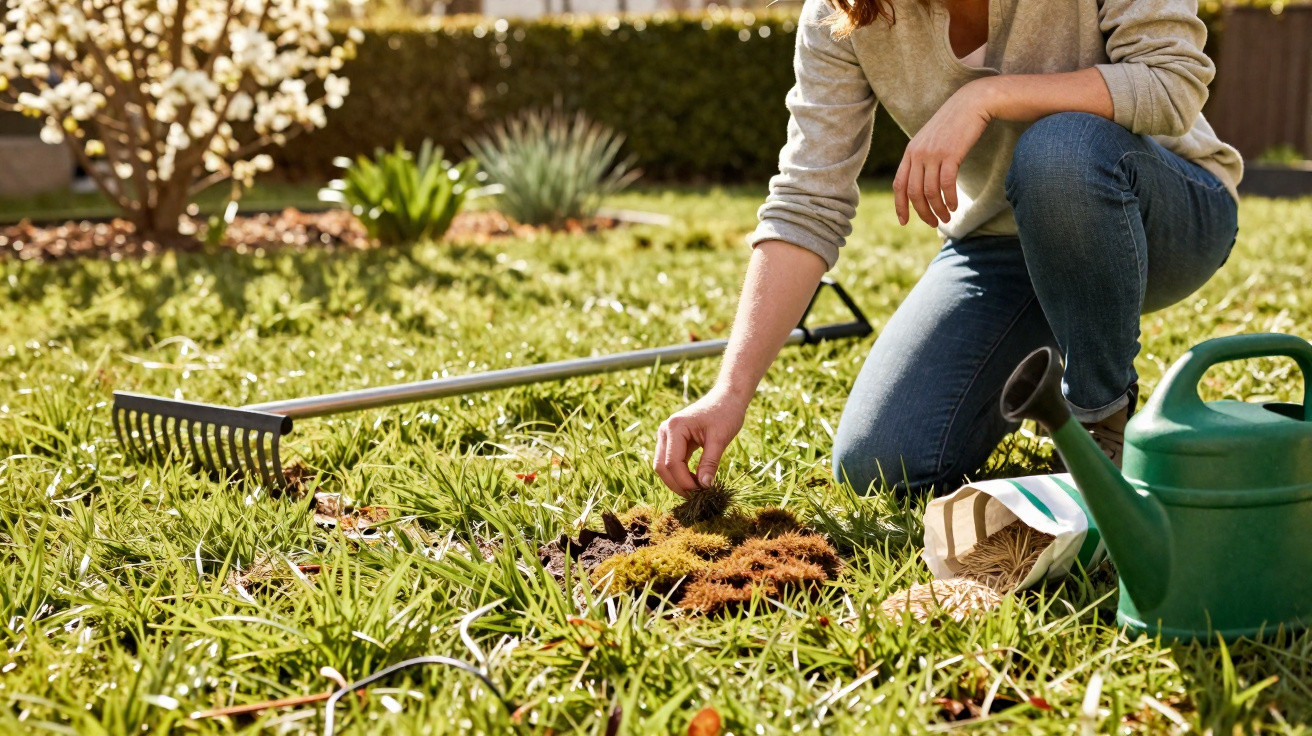
Many amateur gardeners enthusiastically reach for the lawn scarifier in spring – and within a few days ruin what winter has left behind.
After a wet winter, a lawn often resembles a greenish sponge, packed with moss and matted debris. That is exactly when many people feel compelled to act: one thorough “combing through” and it will look good again, they think. Yet anyone who scarifies without a plan at this stage can do more harm than they would like – and face a patchy brown lawn in May.
Why the lawn suffers so much after winter
Months of rain, snow and limited sunshine take their toll on the turf. The soil becomes compacted, water remains on the surface and the roots receive too little air. At the same time, thatch builds up: dead grass blades, clippings and leaves.
The result is that the lawn gradually suffocates, the blades turn yellow and bare patches develop – creating ideal conditions for moss.
Moss is not merely a cosmetic issue; it is a warning sign of stressed, overly acidic and compacted soil.
Typical signs that a lawn is affected by thatch and compaction include:
- The ground feels spongy underfoot.
- Puddles remain for several minutes after rainfall.
- Moss takes over while grass grows only sparsely.
- Thick clumps of thatch and moss catch in the rake.
Only when these signs are clearly present is it worth considering a lawn scarifier. Until then, restraint is the better approach.
The spring mistake that ruins your lawn
The biggest risk is scarifying too early and too aggressively. Many people get started as soon as the first sunshine appears in March, while the soil is still freezing cold and the grass is barely growing. At this point, the lawn lacks the strength to repair the damage.
Anyone who scarifies the lawn before it is properly growing “scalps” it – leaving moss and weeds with a free run.
Common poor decisions in spring include:
- Scarifying immediately after the first mild weekend, even though the soil is still below 8°C.
- Setting the machine too deep: the blades pull out roots rather than simply lifting thatch.
- Working on wet, heavy soil: the machine cuts ruts and smears the surface.
- Scarifying straight after establishing a new lawn, although its roots are not yet stable.
The consequences are brown areas, bare spots, increased weed pressure – and a great deal of frustration.
The right time: when scarifying makes sense
For most areas with a temperate climate, the ideal period falls between March and May. What matters is not the date on the calendar, but the condition of the lawn.
Three simple checks can guide the decision:
- Soil temperature: At least 8 to 10°C. The grass is then actively growing again.
- Growth: The lawn has already been mown two or three times. This indicates that it has the strength to recover.
- Soil moisture: The surface is slightly damp but not muddy. There must be no standing puddles.
New lawns require patience. During the first one to two years, scarifying should be done only very cautiously, if at all; it is better simply to loosen and rake the surface until the turf is densely rooted.
Step by step: how to scarify without stripping the lawn bare
Rather than simply charging ahead, working systematically can genuinely help the lawn with a scarifier. Here are the key steps:
1. Preparation: strengthen the lawn
At the start of the season, a light application of specialist spring fertiliser is worthwhile. This supplies nutrients before the grass is damaged. A few days later, mow the lawn fairly short, to around 3 to 4 centimetres. Collect all clippings in the grass box.
2. Choosing the right soil conditions
Scarify only when the ground is:
- not frozen,
- not waterlogged,
- not bone-dry and hard.
Slightly damp soil is ideal: it should still provide firm footing without feeling muddy.
3. Setting the scarifier
The working depth determines whether the outcome is lawn care or destruction. The blades should only score the turf, not tear it open.
| Setting | Effect | Risk |
|---|---|---|
| 2–3 mm depth | Thatch and moss are lifted while roots remain largely undamaged. | Suitable for most lawns. |
| 4–5 mm or more | Roots are damaged and bare patches develop. | Risk of “scalping”; suitable only for special cases. |
Run the machine across the lawn in even passes. In heavily thatched sections, a second pass at right angles may be possible, but only if the first pass has not already visibly weakened the lawn.
4. Clearing up after scarifying
All loosened thatch must be removed completely. If it is left behind, it will once again block air and water. A sturdy metal rake or a lawn mower set to collect is best for the job.
A thoroughly raked lawn looks worse at first – but that is precisely when its recovery begins.
After treatment: soil care to prevent moss returning
Removing the thatch does not finish the work. The soil will now be exposed in many places. This is where it is decided whether moss or grass gains the upper hand.
One of the most important measures is correcting the pH level. Many lawns are too acidic, not least because iron(II) sulphate has been used against moss for years. Although this substance burns off the moss cushions, it also makes the soil more acidic – a classic boomerang effect.
Instead, use a lime-based soil improver such as dolomitic limestone, which gently raises the pH level. The application rate depends on the soil type and the product instructions. If you are unsure, carry out a simple soil test from a DIY shop first.
Filling gaps: overseeding and watering correctly
Scarifying often reveals a surprising number of bare patches. Leaving them untreated invites weeds to take hold. Special lawn overseeding mixes help fill these gaps with robust grasses.
How to proceed:
- Lightly loosen the soil in bare areas.
- Spread the overseeding mixture evenly, without sowing too densely.
- Lightly rake in or firm down the seed so that it makes contact with the soil.
- Keep it moist without “drowning” it – water small amounts more often rather than a great deal infrequently.
During the first few days after scarifying, avoid walking on the lawn as much as possible. Every footprint compacts the vulnerable areas again.
Common misconceptions about moss and scarifying
Many garden owners regard moss as the main problem. In reality, it is usually only a symptom. Shade, dampness, a low pH level, nutrient deficiency and cutting too low create ideal conditions for it.
A quick check of several widespread myths:
- “The more often, the better”: One, or at most two, scarifying sessions a year are enough. More will weaken the turf.
- “Moss killer solves everything”: Using moss killers alone, without further action, often worsens soil problems over the long term.
- “Short is good”: Constantly mowing extremely low encourages moss. A cutting height of 4 to 5 centimetres is usually healthier.
Scarifying as part of the bigger picture: what really helps the lawn
Scarifying is only one element of lawn care. Without appropriate watering, a suitable mowing height and regular but not excessive fertilising, the results will remain disappointing.
A practical example: a lawn in partial shade that is constantly cut short and grows in heavy, wet soil will become thatchy again even after perfect scarifying. In addition, adding horticultural sand to improve drainage, adjusting cutting heights and perhaps redesigning heavily shaded areas – for instance, with ground cover instead of lawn – can help.
Anyone who takes time once a year to assess the soil, check the level of thatch and then act thoughtfully avoids frantic rescue efforts in high summer. The real skill is not to regard the lawn scarifier as a miracle cure, but as a tool that can achieve a great deal at the right time – and destroy a lawn within days at the wrong one.





Comments
No comments yet. Be the first to comment!
Leave a Comment