
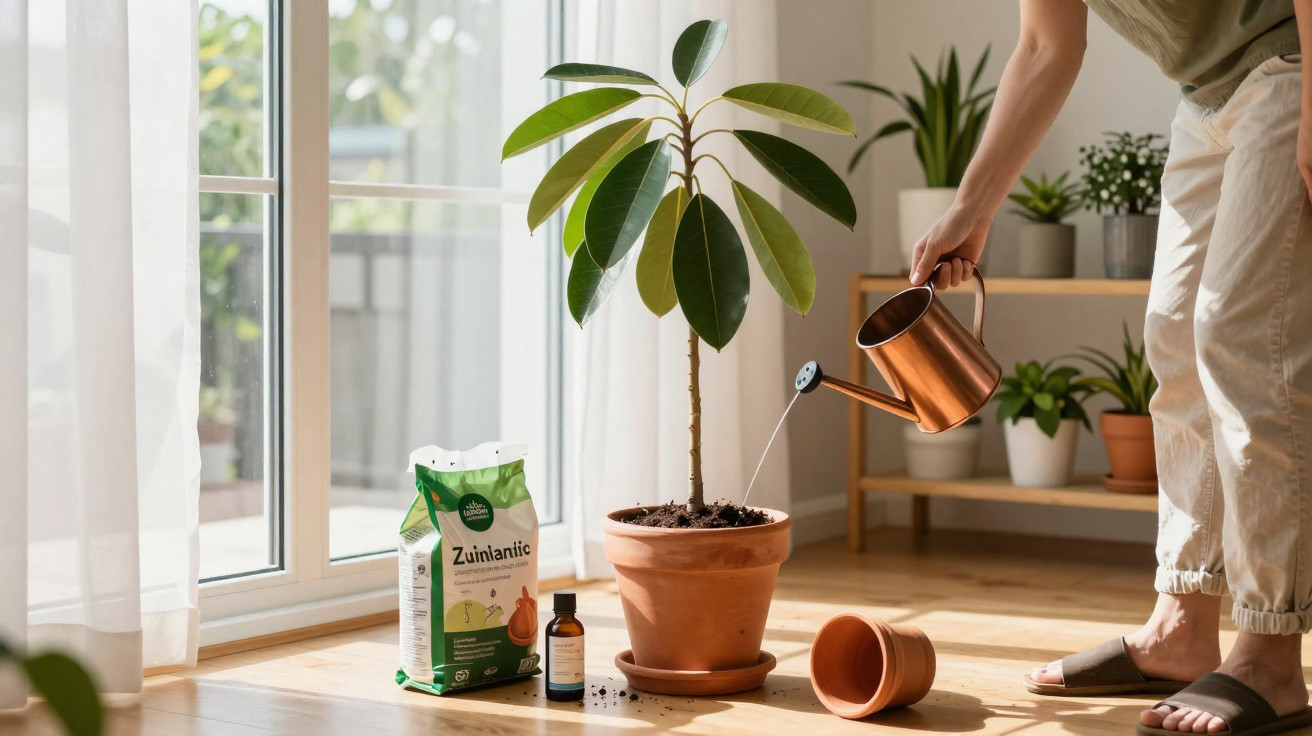
Many people enthusiastically sprout an avocado pit in a glass of water, only to find a puny, yellowing plant on the windowsill months later.
Anyone hoping to raise an avocado tree indoors soon discovers the challenge: the pit germinates, the first leaves appear – then apparently nothing happens. Growth stalls, leaves drop or the plant suddenly dries out. However, with a few carefully targeted steps, this exotic favourite can be kept for years as an attractive houseplant.
Why so many indoor avocado trees die
The avocado tree originates in warm, relatively humid parts of Central and South America. There, it grows into an imposing tree in loose soil, with plentiful light, steady warmth and adequate humidity. A dry windowsill above a radiator provides precisely the opposite conditions.
There is another issue: many people treat an avocado pit as a disposable experiment. They germinate it in a glass, take a few photos for social media and, when things become more demanding, throw the plant away. Anyone who genuinely wants to turn a pit into a long-lasting houseplant needs to care for it as a tropical indoor plant – using a suitable pot, the right location, controlled watering and regular maintenance.
“Anyone who sees their avocado tree as a proper houseplant – rather than simply an experiment in a glass of water – has a far better chance of growing a strong, green plant.”
Mistake 1: Getting the avocado pit and first pot wrong
The most common stumbling block arises right at the beginning: the pit is quickly put into a glass, half forgotten, then eventually pushed into any old soil. A sturdy plant requires a more systematic approach.
How to start an avocado pit successfully
First of all, choose a healthy pit from a ripe fruit. It should not be damaged or shrivelled. It also needs warmth: 20 to 25°C is ideal, such as in a bright spot in the kitchen away from draughts.
Three germination methods work well:
- In a glass of water: Secure the pit with cocktail sticks so that its base sits in the water while the top remains dry.
- Directly in loose soil: Plant the pit around two-thirds deep in a light, humus-rich growing medium, leaving the upper section exposed.
- In damp cotton wool or kitchen paper: Wrap the pit, place it in a container and moisten it regularly before transferring it to soil later.
It generally takes three to eight weeks for the pit to split and for the first root and shoot to emerge. During this period, it must neither dry out nor rot in stagnant water.
The first pot determines future success
Once the shoot is a few centimetres tall and the root has developed well, the young plant needs a proper home. One frequent mistake is choosing an excessively large pot filled with dense, heavy soil. The roots then sit in cold, wet conditions and begin to rot.
A better approach is:
- Choose a pot around 20 to 25 centimetres in diameter, with drainage holes in its base.
- Add a drainage layer of expanded clay pellets or gravel at the bottom.
- Cover it with loose, nutrient-rich compost that has not been compacted.
- Plant the pit only halfway into the compost, spreading the roots out carefully.
After four to five months, the pot can be increased by one size. Constant repotting, however, is unnecessary and puts the plant under stress.
Mistake 2: The wrong location – too dark, hot or dry
The ideal position for an avocado tree indoors is bright, warm and free from draughts – but not in blazing sunlight behind glass. This particular combination is hard to find in many homes.
East- or south-east-facing windows work well, as can a west-facing window with a light curtain. Temperatures should remain between 18 and 25°C. Cold draughts from the window or a radiator directly beneath the pot will stress the plant.
As it comes from tropical regions, the plant appreciates a certain level of humidity. Dry, hot air from central heating can quickly cause its leaves to turn brown.
“Anyone who lightly sprays their avocado tree every day with low-limescale water and does not place it directly on a radiator will prevent much of the dry damage to its leaves.”
Practical ways to raise humidity around the plant include:
- Placing the pot on a saucer filled with damp expanded clay pellets.
- Grouping several houseplants closely together to create a small microclimate.
- Ventilating without draughts: open the window wide briefly and move the plant slightly further back while doing so.
Mistake 3: Too much or too little water – the classic problem
Few aspects of houseplant care cause as much damage as watering. Both extremes are troublesome for an avocado tree: permanently waterlogged compost causes root rot, while complete dryness makes leaves hang limp and fall off.
How often should you water, and how much?
The compost in the pot should stay lightly moist rather than wet. A practical test is to press a finger one to two centimetres into the compost.
- If the compost feels dry, it is time to water.
- If it is still noticeably damp, wait a few more days.
After watering, remove excess water from the saucer. Water collecting at the base of the pot is a reliable route to root rot.
| Symptom | Likely cause |
|---|---|
| Limp leaves, compost bone dry | Lack of water |
| Yellow leaves, wet and heavy compost | Too much water, poor drainage |
| Brown leaf tips, brittle edges | Air too dry or heat build-up near a radiator |
Tap water with a high limescale content can eventually lead to yellow leaves because the plant is less able to absorb nutrients. Left-standing tap water, filtered water or rainwater are better options.
Mistake 4: No nutrients – then everyone wonders why
Avocado trees grow quickly when they receive what they need. In a flowerpot, though, nutrient reserves are soon used up. Many people leave the plant in the same compost for years and water it with nothing but water – growth then stops and the leaves turn pale.
During the growing season from March to October, an avocado tree in a pot can be given a liquid fertiliser for foliage plants or citrus plants every two weeks. Use the dosage stated on the bottle, or slightly less. Too much fertiliser causes brown leaf tips.
“Pale green, small leaves and hardly any new shoots often indicate a nutrient deficiency – regular, mild liquid fertiliser can then help.”
In autumn and winter, when growth slows, fertilising very sparingly once a month is sufficient. Alternatively, stop altogether if the plant is kept somewhere that is already rather cool and dark.
Mistake 5: Never pruning or repotting – and the tree soon topples over
Those who simply let their avocado tree grow will usually end up with a long, thin, unstable stem with a few leaves at the top. To make the plant bushier and more stable, it needs its first “haircut” early on.
Pruning an avocado tree for a better shape
As soon as the young tree reaches roughly 15 to 20 centimetres, cut or pinch out its tip above the second or third pair of leaves. It can take some courage, but it encourages new side shoots. Trim these back lightly as they lengthen too – gradually, this creates a denser, more branched structure.
Repotting into a slightly larger pot with fresh compost is worthwhile every two to three years. When doing so:
- Carefully loosen old, compacted compost.
- Remove any rotten or mushy roots.
- Add a fresh drainage layer and new growing medium.
From late spring until early autumn, the avocado tree can be moved to a sheltered spot on a balcony or patio. There it receives more light and becomes stronger, but it should not be left in cold draughts or the midday heat.
Common avocado tree problems: yellow leaves, pests and no fruit
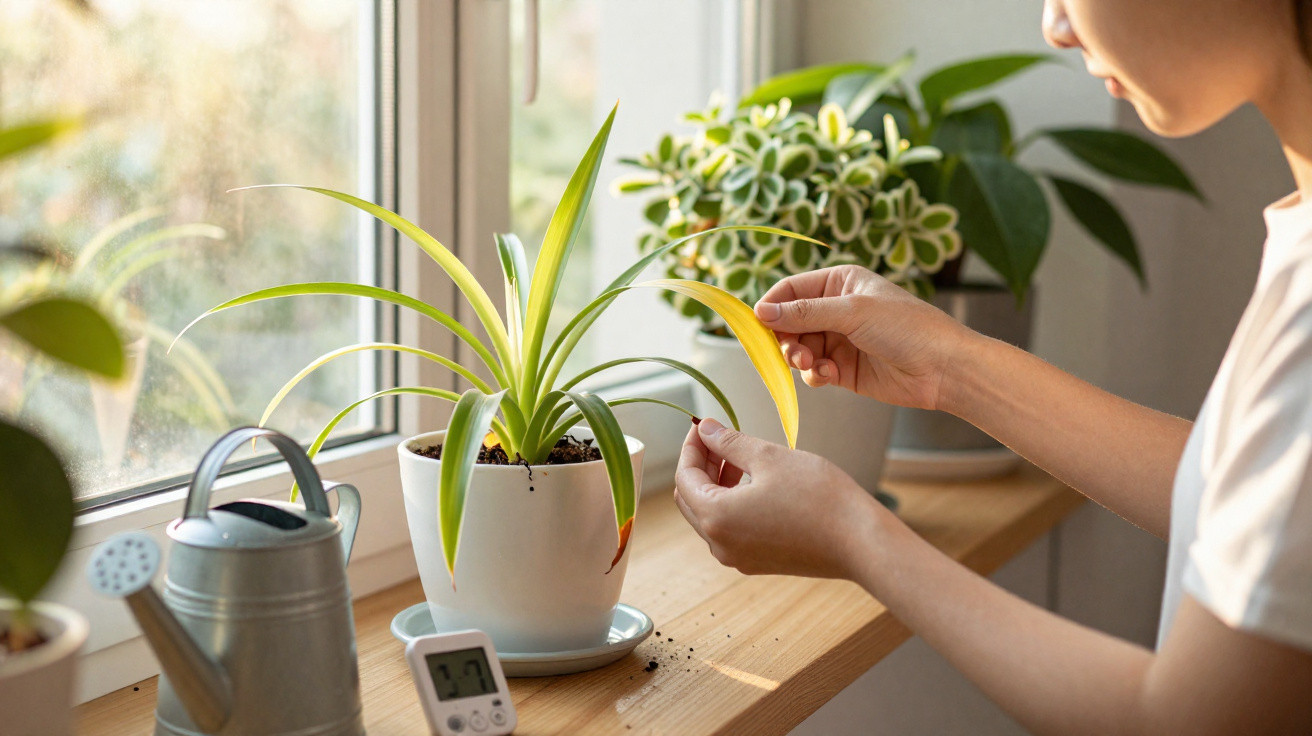
Yellow leaves are a warning sign with many possible causes: insufficient light, overwatering, water with too much limescale or a nutrient deficiency. Take a close look at watering habits, location and feeding to identify the issue.
Spider mites often appear in dry central-heating air and can be recognised by fine webbing on the undersides of leaves. Scale insects and mealybugs may also settle on the shoots. For a light infestation, giving the whole plant a lukewarm shower and then wiping it with a diluted soap solution may be enough.
Anyone dreaming of fruit should moderate their expectations. Even under ideal conditions, avocado trees grown from pits rarely bear fruit indoors. If they do, it will only be after many years. A more realistic aim is strong, rich green leaves and a decorative tree grown at home for the living room.
How an avocado tree becomes an easy long-term houseplant
Seeing the plant as a long-term project brings two benefits: not only does an eye-catching feature grow, but you also learn a great deal about the water balance, light and nutrient needs of houseplants in general. Many tips for avocado trees can be applied directly to other tropical plants, including small citrus trees and ficus varieties.
A simple routine is useful: carry out a “plant check” once a week. Test the compost, remove dust from the leaves, look briefly for pests and turn the pot so that every side receives light. This keeps the avocado tree healthy and allows small problems to be noticed early, before the plant suddenly stands bare in the living room.
A well-cared-for avocado tree has one further advantage: it responds clearly to changes. For example, if the heating is turned up in winter or watering is neglected, the plant will soon show it. This makes it a kind of living indicator of the indoor climate – and, incidentally, one of the most personal houseplants of all, because it came from a snack you ate in your own home.
Comments
No comments yet. Be the first to comment!
Leave a Comment