
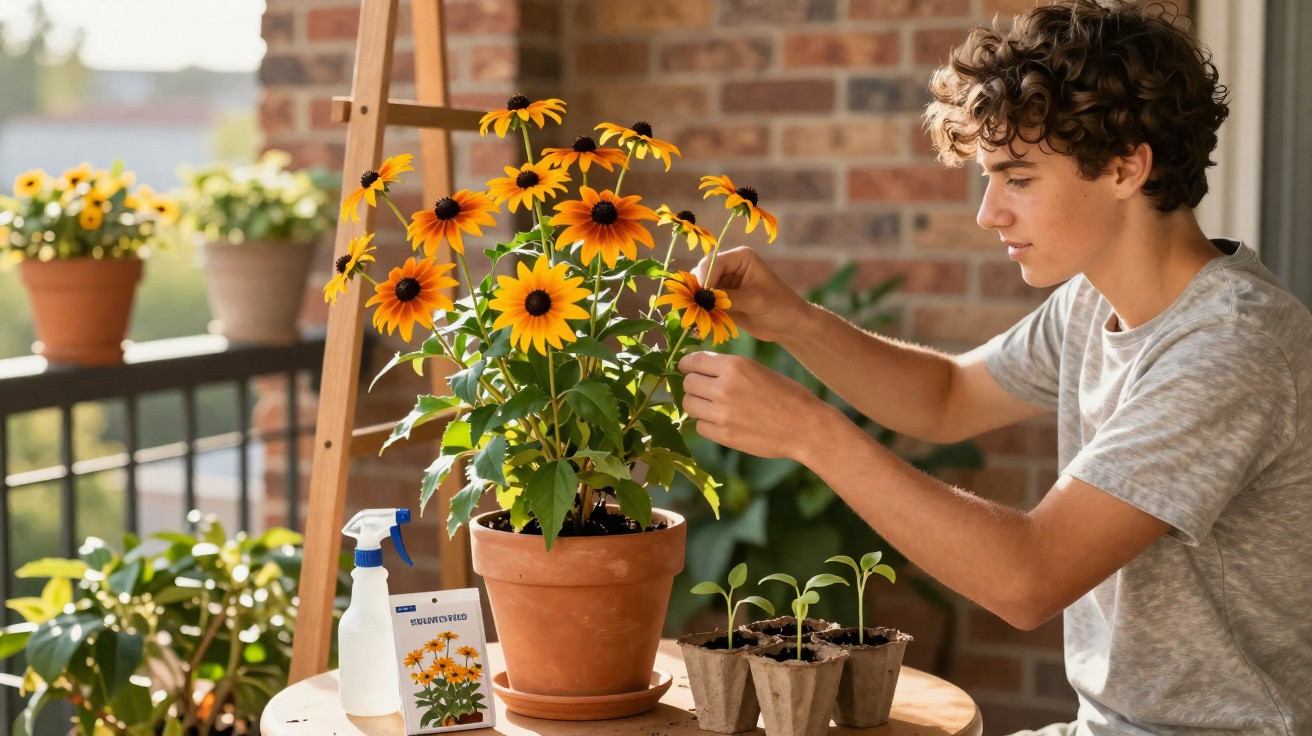
This climbing plant forgives almost every beginner’s mistake.
Black-eyed Susan grows quickly, flowers for a long time and copes with very little maintenance. Sow it at the right time and, within a few weeks, you can turn a balcony, patio or garden into a sea of blooms – without needing expert gardening skills.
Why Black-eyed Susan is a true beginner’s favourite
Black-eyed Susan (Thunbergia alata) is among the easiest climbing plants to grow in a home garden. This annual uses its shoots to climb poles, trellises and fences, producing an impressive amount of foliage and flowers in its very first year.
“Anyone wanting quick, visible results in the garden has chosen the right climbing plant – even with no previous experience.”
Its biggest advantages for beginners include:
- rapid growth within just a few weeks
- a long flowering period from summer into autumn
- versatile planting options – in borders, containers or window boxes
- easy sowing: seeds germinate reliably with warmth and light
The plant twines upwards in a spiral, reaches considerable heights in one season and covers arches, obelisks, trellises or simple wire fences at remarkable speed. This is precisely what makes it so appealing if you want a visible result quickly and with little effort.
When to sow Black-eyed Susan
Begin from March, when indoor temperatures are warm enough for the seeds to germinate well. Temperatures between 16 and 18 °C are ideal, although a little warmer is also fine as long as the seed container does not dry out.
As Black-eyed Susan is extremely sensitive to frost, it should be raised indoors:
- sow on a warm windowsill or in an indoor propagator from March
- place seed trays somewhere bright, but not directly above a radiator
- only move plants outdoors permanently after the last frosts
Starting earlier can cause young plants to become leggy by the window, as late-winter light is still weak. It is better to start a little later and have sturdy, strong seedlings than to begin too early with long, thin shoots.
How to sow Black-eyed Susan correctly
You do not need professional equipment for sowing. Small pots, modular seed trays or simple trays will all do the job.
Step-by-step guide
- fill pots or trays with loose seed compost
- place one or two seeds in each pot
- cover them with only a thin layer of compost – no more than 1 cm
- water carefully until the compost is evenly moist
- put the containers somewhere warm and bright, but away from strong midday sun
“The compost should always be slightly moist, but never truly wet – waterlogging is the most common cause of failed germination.”
Beginners in particular often water too generously. It is better to water small amounts more often than to soak the pots heavily in one go. When the surface feels dry, it is time to water again.
Warmth and light: the boost for young plants
Black-eyed Susan originates from the tropics of East Africa, so it naturally loves warmth and sunshine. In a cool guest room with a north-facing window, it will grow much more slowly or may stop growing altogether.
Ideal places for raising plants include:
- a bright south-facing window, set slightly back from the glass
- a small indoor propagator positioned above a radiator
- a bright, frost-free conservatory
The warmer and brighter the location, the more vigorously the seedlings will develop. A draughty spot by an open window or a cold hallway will noticeably slow growth.
After germination: prick out seedlings and plan climbing support
Once seedlings have formed their first true leaves alongside the seed leaves, it is time to prick them out. Transfer each plant into its own pot filled with more nutrient-rich compost.
How to prick out seedlings
- carefully lift plants from the tray with a dibber or spoon
- hold them only by a leaf, never by the delicate stem
- place them in prepared pots and gently firm the compost
- water them in, then protect them from direct midday sun for the next few days
Because Black-eyed Susan climbs very quickly, it is worth putting a support into the pot early on – a small bamboo cane or wooden stick is enough at first. A larger climbing frame can take over later once the plant is outdoors.
Move outdoors only after the last frost
Even if young plants already look strong in April, they cannot tolerate cold at all. Even a light frost can destroy them in a single night. Wait until nights are consistently frost-free – usually from mid-May.
Before planting out, a short “hardening-off period” is worthwhile:
- put plants on the balcony or in the garden for a few hours during the day
- choose a sheltered, partially shaded position
- bring them back indoors in the evening
- three to five days is usually enough
This helps young plants adjust to wind, direct sun and changing temperatures, allowing them to establish better outdoors.
The best position for abundant flowering
Once outdoors, Black-eyed Susan shows what it can do – provided the growing position meets its needs.
| Factor | Recommendation |
|---|---|
| Light | Full sun to very bright, sheltered from wind |
| Soil | Loose, humus-rich and free-draining, with no waterlogging |
| Container | Large pot or window box with drainage holes |
| Water | Keep evenly moist, but never permanently wet |
The plant performs particularly well in containers with an obelisk, in window boxes with a trellis, or on a simple trellis against a house wall. In an ideal spot, it quickly becomes a flowering screen dense enough to block the view.
Common beginner mistakes – and how to avoid them
Most problems with Black-eyed Susan can be traced back to just a few causes. Knowing these pitfalls makes the plant much easier to manage.
- Planting out too early: Cold weather or late frosts can set the plant back or kill it. Always wait until after the mid-May frost risk has passed.
- Too little warmth while raising plants: Seeds germinate poorly and grow slowly in cool rooms.
- An outdoor spot that is too shady: Partial shade means fewer flowers, while deep shade often results in only sparse growth.
- Waterlogging: Permanently wet compost quickly causes root rot, especially in saucers without drainage.
- No climbing support: Without something to grip, the shoots become tangled or hang down unattractively.
“By providing warmth, sun, free-draining compost and a simple climbing support, you remove almost all of the difficulty from raising the plants.”
Practical tips for balconies and patios
On a balcony, Black-eyed Susan makes the most of its strengths as a living privacy screen. In a larger container with a trellis, it rapidly shields you from overlooking neighbours. Varieties with orange-yellow or white flowers are especially popular and combine well with other summer-flowering plants.
Suitable companions with similar requirements include:
- sweet peas with a trellis
- trailing petunias at the front
- cascading pelargoniums around the edge of the container
This creates a layered display of flowers: Black-eyed Susan provides the height, while the other plants fill the surfaces and edges.
How to keep the plant healthy and flowering freely
During the season, it is worth checking the shoots regularly. You can remove faded blooms as they appear, which encourages fresh buds to form. In containers and window boxes, a standard liquid fertiliser for flowering plants helps prevent nutrients from running out too quickly.
If plants are growing very densely, it is also helpful to guide or tie in individual shoots. This distributes the stems more evenly over the frame and leaves fewer gaps.
What the name reveals – and what else you should know
The plant owes its unusual name to the dark patch at the centre of each flower. It looks rather like an eye peering out from the coloured petals. Depending on the variety, colours range from vibrant orange and yellow to white and apricot.
As it is an annual, it will not survive winter outdoors. If you become particularly fond of the plant, you can collect seed from mature seed heads and sow it again the following year. In this way, Black-eyed Susan can accompany your garden season after season – without requiring extensive specialist knowledge.
Comments
No comments yet. Be the first to comment!
Leave a Comment