
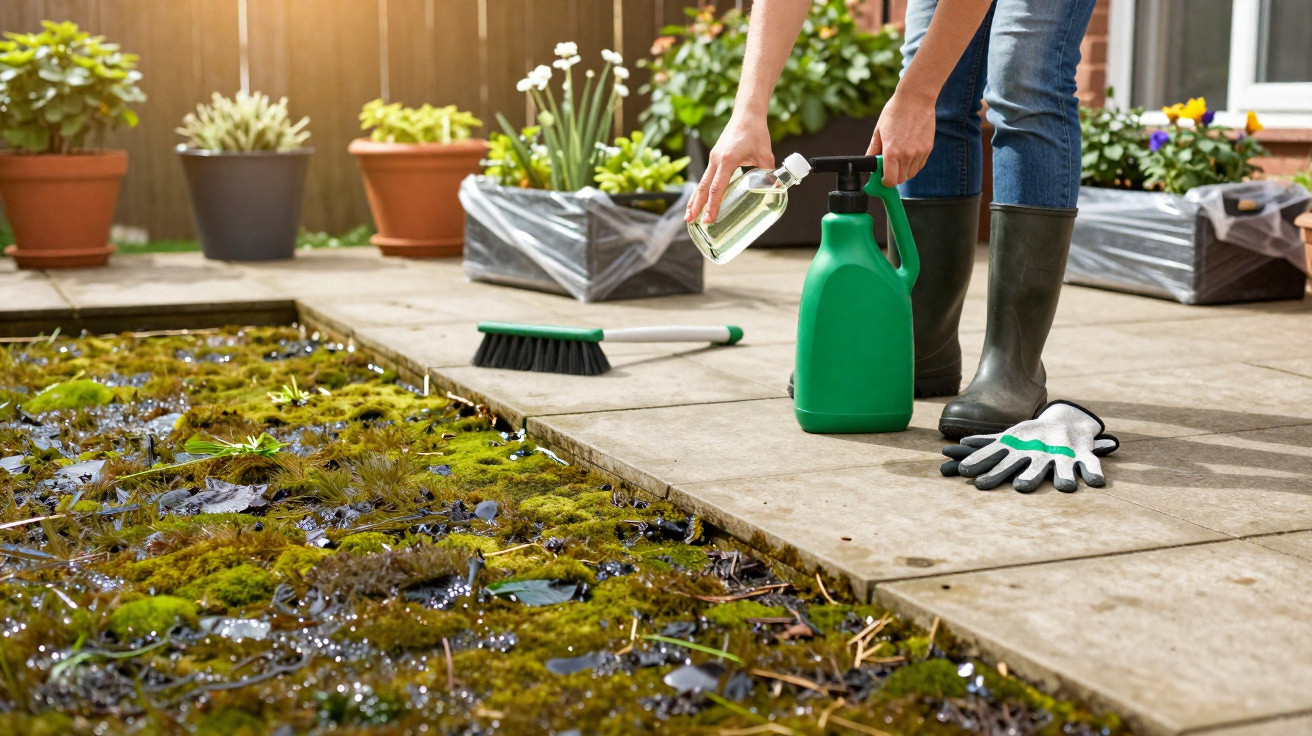
Many people only notice the problem when the first mild days arrive: patio slabs are green, slimy and dangerously slippery. Rather than buying costly specialist cleaners or spending hours scrubbing, a household staple found in almost every kitchen may be enough – for around 30p.
Why the patio becomes so hazardous after winter
Rain, damp air, limited sunshine and leaves left on the slabs for weeks create ideal winter conditions for moss and algae. What initially appears to be merely “a little green” can quickly turn into a genuine slipping hazard.
Shaded patios, north-facing areas and surfaces beneath trees are particularly vulnerable. The ground barely dries there, moisture remains in the joints, and the coating grows again with every damp spell.
Moss and algae do not only make patios look untidy – they significantly increase the risk of falls, especially for children and older people.
Many people wait for it to “dry out by itself”. In reality, the reverse tends to happen: the layer becomes thicker, darker and more persistent. Spring, when temperatures rise while the ground is still damp, is the best time to clean the surface thoroughly before the coating becomes more firmly established.
The 30p kitchen remedy: what household vinegar can really do
The method centres on ordinary household vinegar – more precisely, clear spirit vinegar with a higher acid content than table vinegar. Bottles are often labelled “vinegar essence” or “clear household vinegar”.
Its key active ingredient is acetic acid. It attacks the thin layer where moss, algae and micro-organisms take hold, reducing the coating’s grip and making it much easier to remove.
Vinegar does not target the patio itself, but the nutrient layer to which the green film clings – and that is exactly what makes it so effective.
A vinegar-and-water mixture remains fairly runny. This allows it to penetrate the narrow cracks and joints where green growth is especially stubborn. After it has been left to work for a while, an ordinary deck scrubber will usually be enough to uncover the surface again.
Step by step: a safer patio in one hour
For a typical patio made from concrete slabs, brick, ceramic or concrete block paving, one bottle of vinegar and some effort will often suffice. Clean it as follows:
- Clear away loose debris: Sweep up leaves, twigs, soil and gravel with a broom or leaf rake. The cleaner the surface is, the more effectively the vinegar can work.
- Prepare the solution: Put roughly one part clear household vinegar and one part warm water into a bucket. Warm water increases the effect slightly.
- Soak the surface: Pour the solution generously over the green areas or spread it with a watering can, making sure it reaches the joints too.
- Leave it to work: Do not walk on the patio for about an hour, allowing the vinegar time to act. During this period, the film begins to loosen.
- Scrub and rinse: Go over the surface with a deck scrubber or brush, then rinse thoroughly with plenty of clean water.
If desired, a pressure washer can then be used only on isolated spots, such as very old, dark stains. In many cases, however, scrubbing is sufficient because the vinegar has already weakened the moss’s adhesion considerably.
Important warning: not every stone can tolerate vinegar
Although vinegar is practical, it is still an acid, and certain materials react very sensitively to it. Limestone is particularly problematic.
Sensitive surfaces include:
- untreated marble
- travertine
- many types of calcium silicate brick
- some engineered stones with a high lime content
- untreated or only oiled wood
If you are unsure, test the mixture first in an inconspicuous corner. If the stone develops dull patches or pale streaks, vinegar should not be used.
For wooden patios, gentler options are more suitable, including specialist wood cleaners, a soft-soap solution, or water mixed with a little soda powder. Here too, always test a small area before treating the entire surface.
Protecting plants and joints while cleaning
When rinsing the patio, vinegar solution can run into flowerbeds, joints and lawn edges. Small amounts are usually not an issue, but concentrated contact may damage sensitive plants.
Where beds and shrubs sit directly beside the patio, it is better to proceed as follows:
- Lightly water the edges beforehand so that any vinegar is more diluted later.
- Treat the surface in a way that lets as little liquid as possible flow towards the beds.
- Once scrubbing is complete, rinse the patio generously with water to disperse and dilute the solution.
There is also a welcome side effect: in the joints between slabs, vinegar weakens fine weeds and young wild plants. It will not remove thick, old roots completely, but they can then be pulled from the joints more easily.
How often should you clean – and how can the patio stay cleaner for longer?
A thorough spring clean is enough for many gardens. Those with a heavily shaded or extremely damp location may find green patches returning as early as autumn.
Small routines throughout the year are worthwhile:
- Regularly sweep leaves and pine needles from the surface.
- Move plant pots from time to time so that no permanently damp border develops beneath them.
- Prevent standing water by keeping channels and drains clear.
- Sweep thoroughly once more shortly before winter so that too much organic material is not left behind.
The less moisture and dead plant material remain on the slabs, the more slowly moss and algae return.
Anyone who finds that a slippery coating repeatedly forms in particular corners could consider improving airflow and light there – for example, by pruning a shrub or repositioning privacy-screen panels.
Alternative household remedies – and their limitations
Alongside vinegar, numerous other tips for green patios circulate online. Here is a brief overview:
- Soda (sodium carbonate): It loosens grease and dirt and works well on deposits, but it is more alkaline and can also damage sensitive stone.
- Green-deposit remover from a DIY shop: These products are usually reliable, though they often contain chemical active ingredients that may enter soil and groundwater.
- Pressure washer: This removes everything quickly, but can also wash out joints, roughen surfaces and damage stones.
Vinegar sits somewhere in between: it is not a miracle solution for every situation, but for robust patio materials it is a comparatively gentle, inexpensive and readily available option.
What lies behind the green film – and why it is so persistent
The typical coating after winter rarely consists of one type of growth alone. It often combines:
- algae, which create a slippery film;
- mosses, which form small cushions and mats;
- fungi and bacteria, which cause dark discolouration;
- fine soil and dust, which bind everything together.
These layers cling to tiny irregularities in the stone surface. With every damp period, spores and cells spread further, multiply and create fresh layers. Acetic acid disrupts this structure by changing conditions at the surface and attacking the matrix that holds it all together.
Understanding that the slabs host an entire “ecosystem” also makes clear why straightforward prevention, such as regular sweeping, effective drainage and a targeted spring clean, can make such a difference.
Comments
No comments yet. Be the first to comment!
Leave a Comment